Monday, October 02, 2006

Autobody practice.

A little practice on some 20 gauge. The top weld was done in a continuous(sortof) bead with 3/32 tungsten, 3/32 filler.UGLY. I also realized I had the starting amperage too high. It wasn't even starting the arc until 50 amps which would blow a hole( pin head) through the steel. This was mainly because I ground off the paint which took too much metal off, so it was way to thin. The barrel was really distorted too.

The lower one was stiched in smaller sections with 1/16th tungsten and filler, I used a wire brush to remove the paint, and set starting amperage to 5 amps. I kept alternating side to side to keep the metal as cool as possible. Still not great, but complete penetration.
(The circles are dime sized)


Sunday, October 01, 2006

Up in Smoke, but progress was made...

It was a tough weekend for my Dewalt tools. The drill was my fault, a consumer level drill just isn't made for drilling 3" holes 1/4" steel. THe grinder, however, just gave up. I finished using it, and the next time I went to use it... NOTHIN? So, I bought a Milwaukee and got back to work.

Added the shelf for the Welder... While the Vikings were losing. !!!%^$#!^%$!#$
And starting fabbing up the clamp that will hold the Argon tank. ( If you look closely, I actually welded this 90 degrees out of position, doh!

And a test fit...

Thursday, September 28, 2006

Getting lighter

Well, it is getting lighter...

Tuesday, September 26, 2006

Oops

OK, I knew this thing would way over-built, but it was material I already had. However after welding the two halves together, it went from over-built to retarded! Time to lighten the load. This could actually end up looking really good because of this. I'll cut some material out and drill some holes to lighten the heavy parts.

Monday, September 25, 2006

Putting the cart before the horse

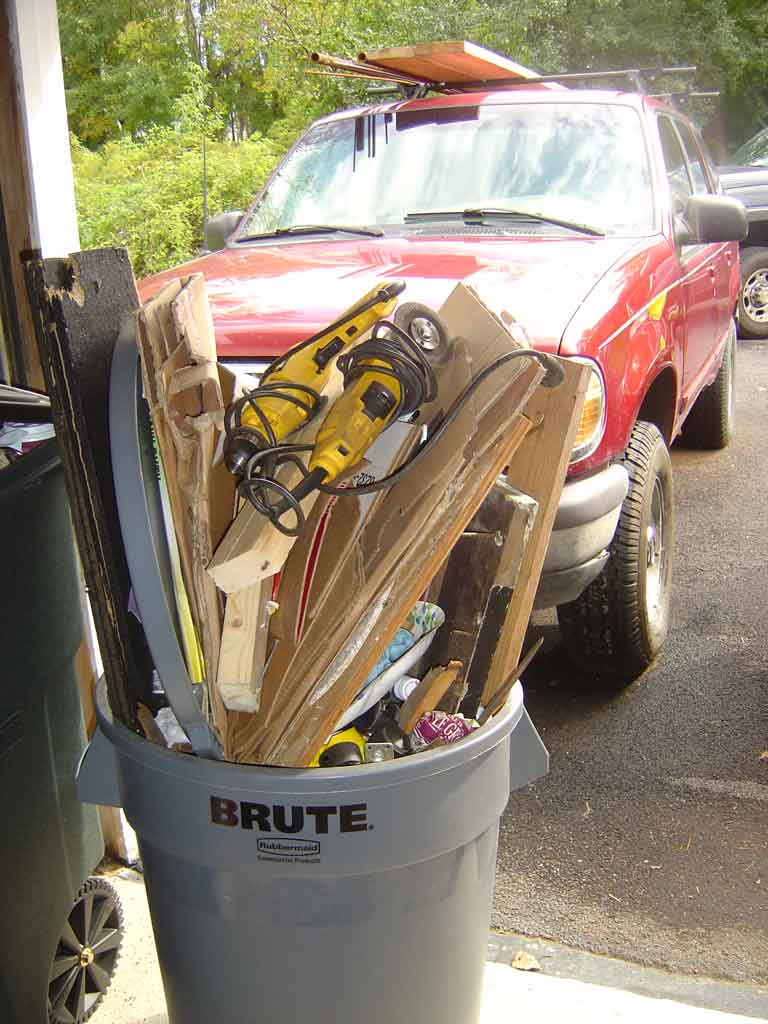
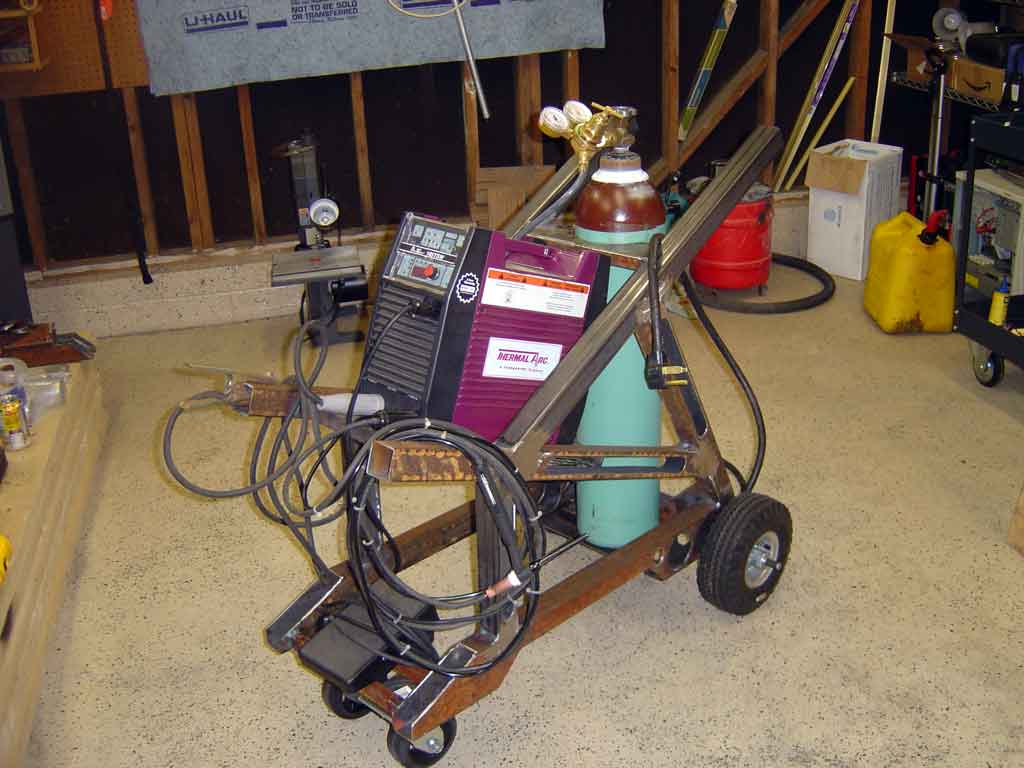
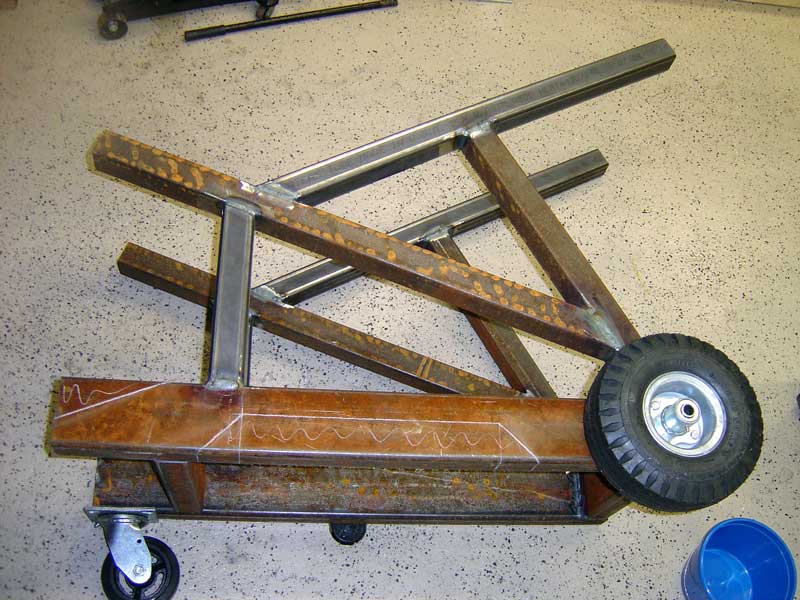
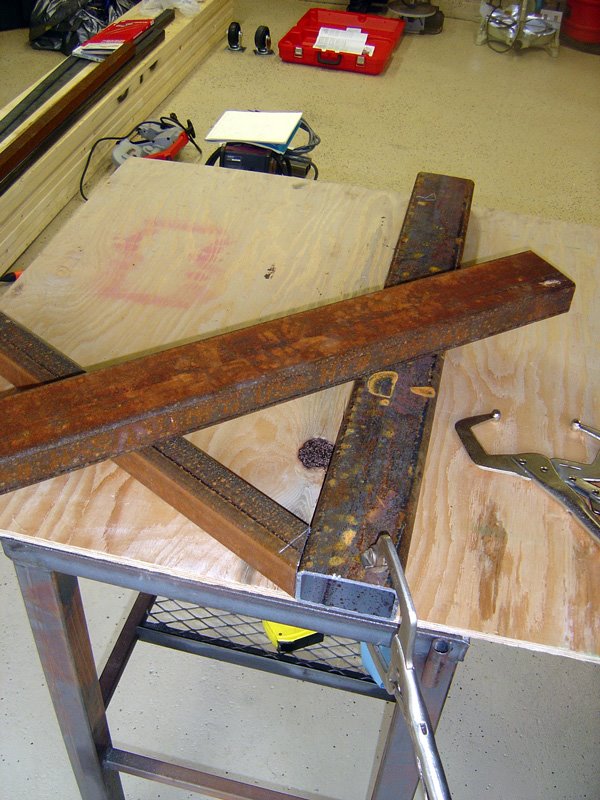
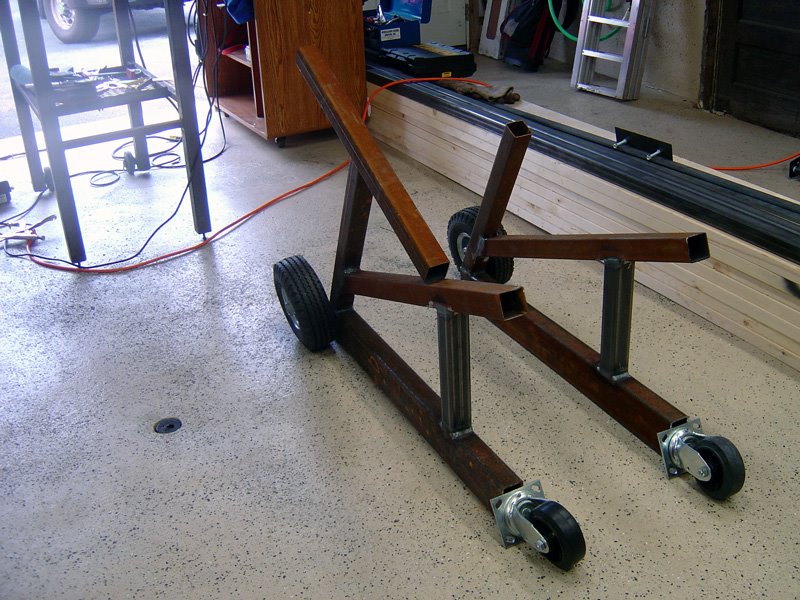
Between the body work on the truck , redesign on the backhoe forks, and the new box scraper I plan on making for the ATV, I must have dragged my welding sh!t in and out of the garage 20 times. Time to build a welding cart that carries the welder, the tha Argon tank, the TIG torch, grounding clamps, filler metals, helmet, glasses, clamps, ... and anything else I can fit. Using a mix of old and new, this baby will be an All Terrain cart that is so over built it's not funny.


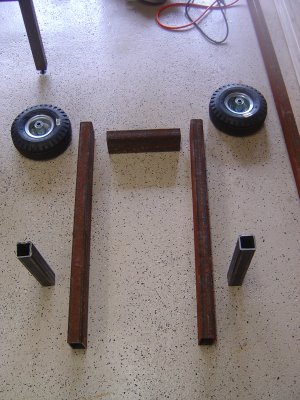
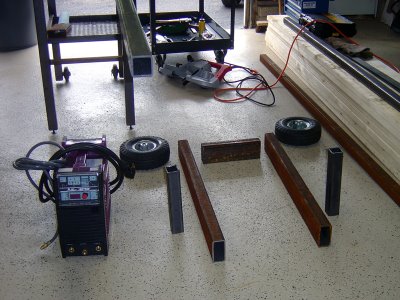
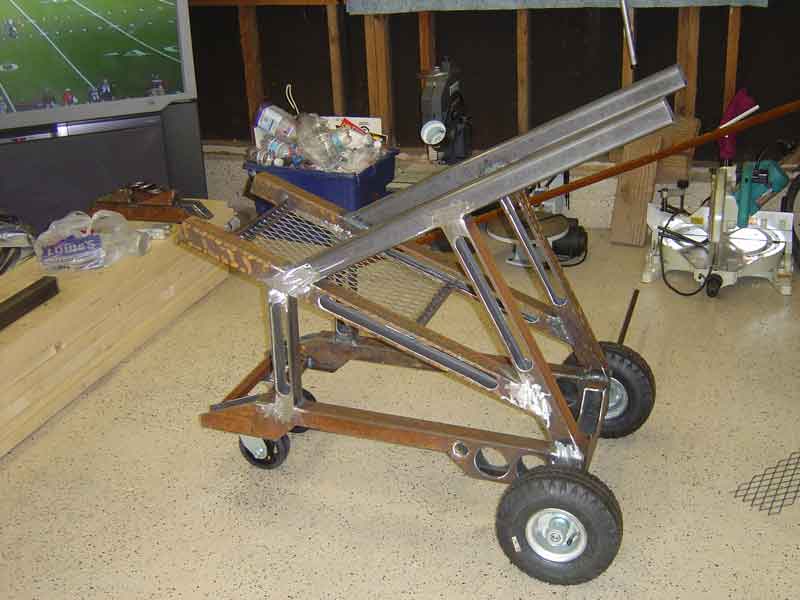
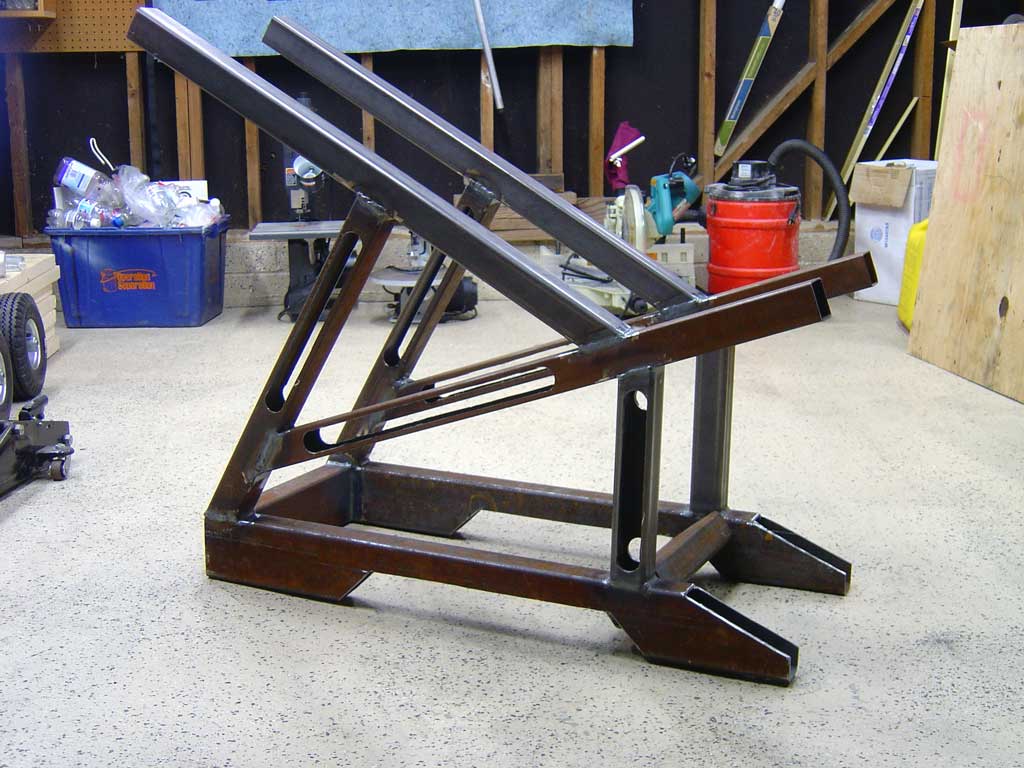
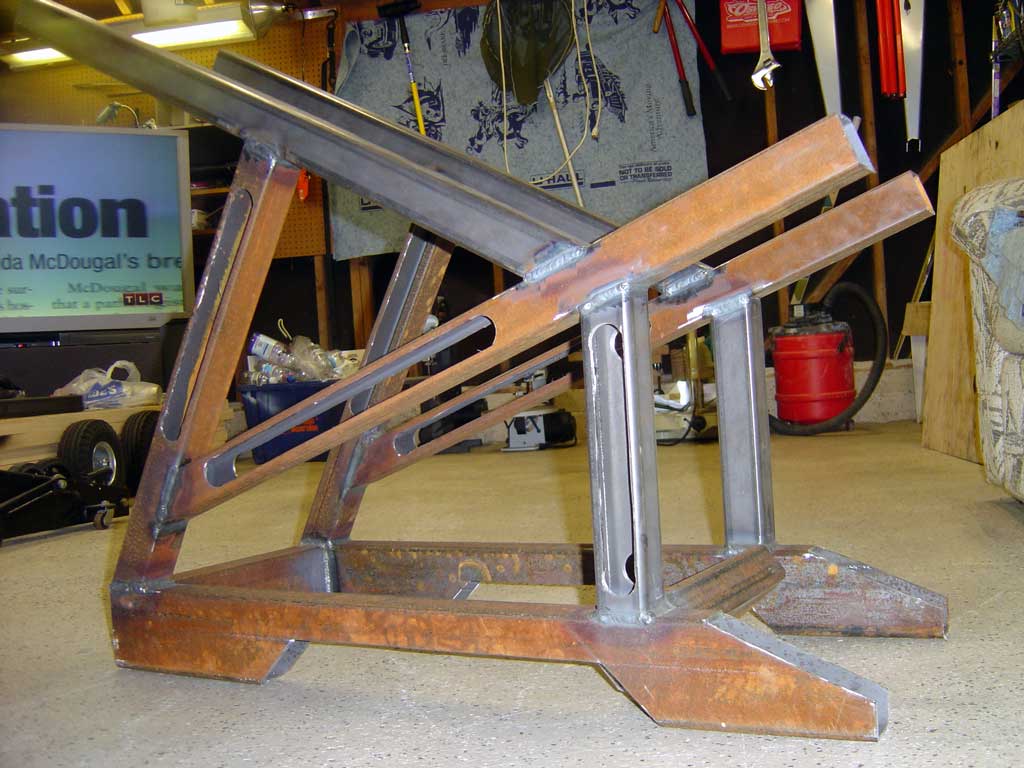
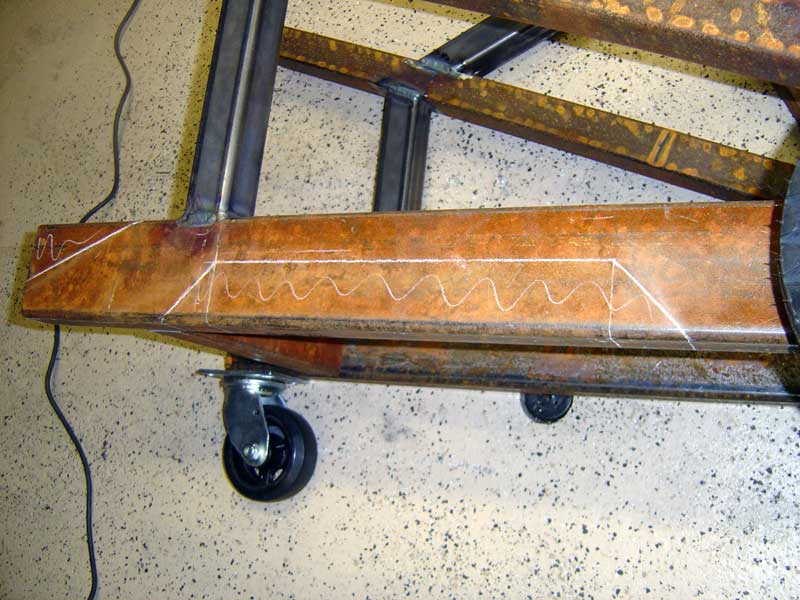
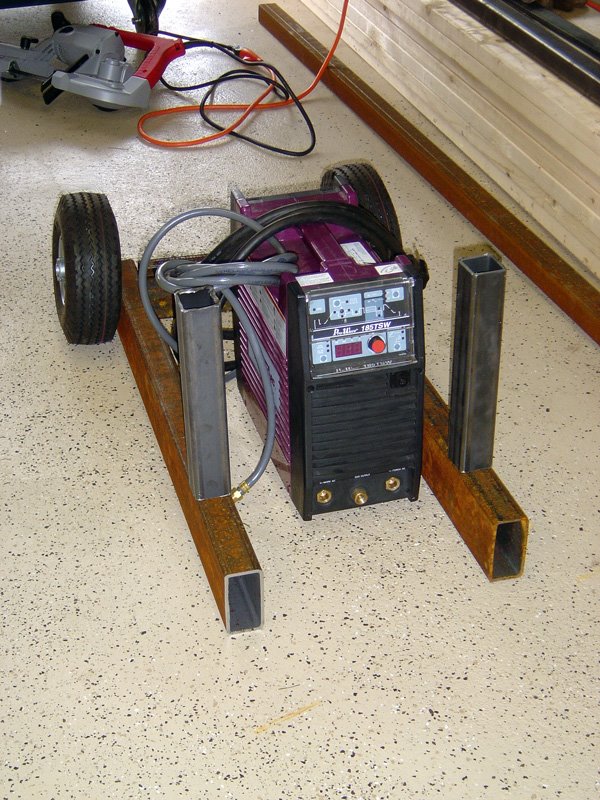
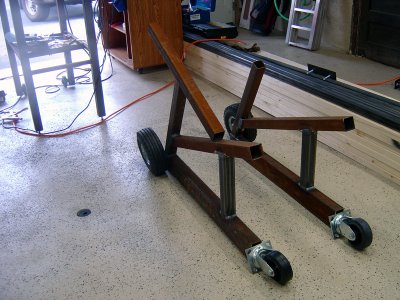
The bars in the back will be the handle for the cart , the bars up front will hold the welder at an angle that nake it easier to read the display, and there will be 1 or more drawers underneath withe side access.
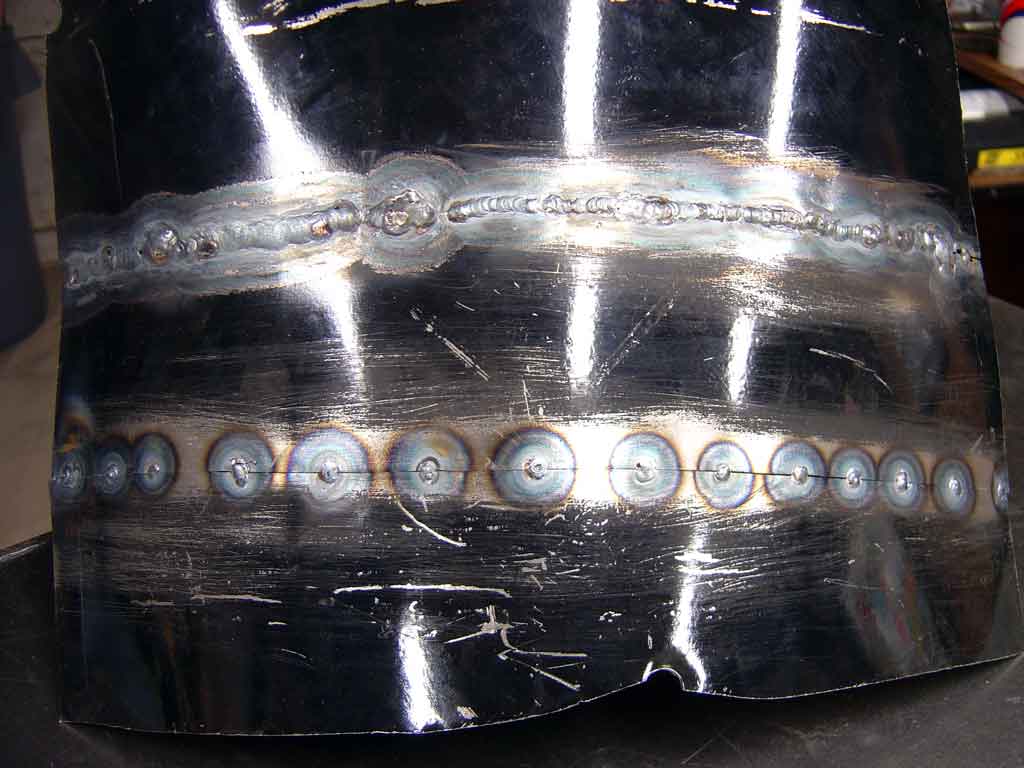
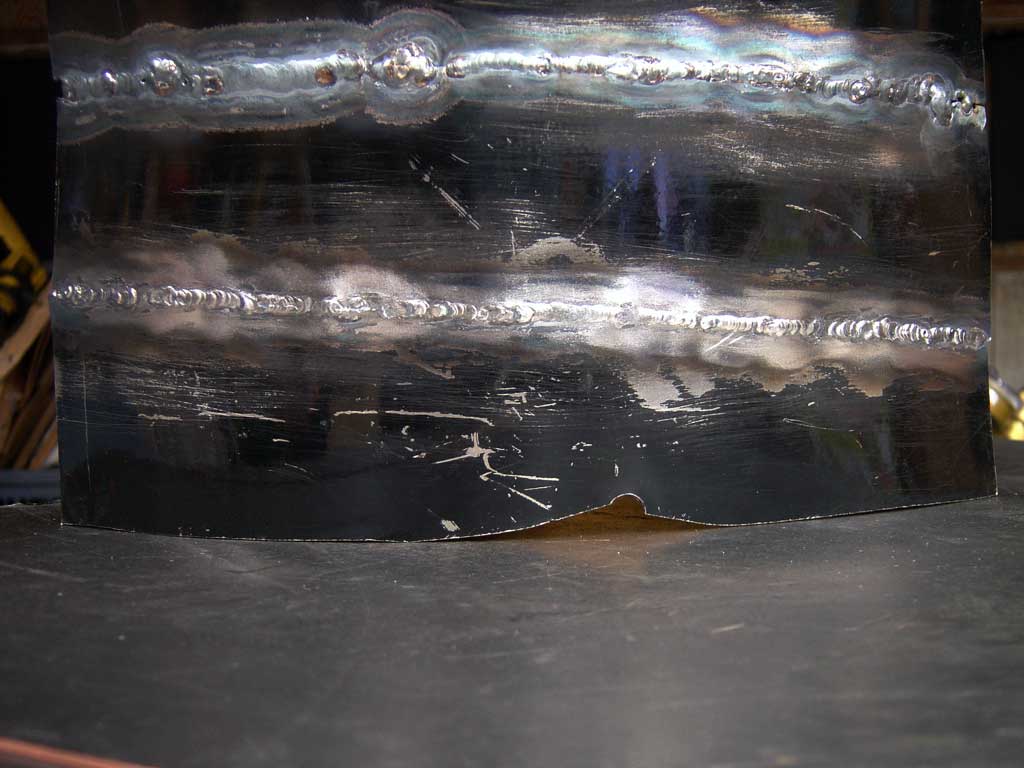
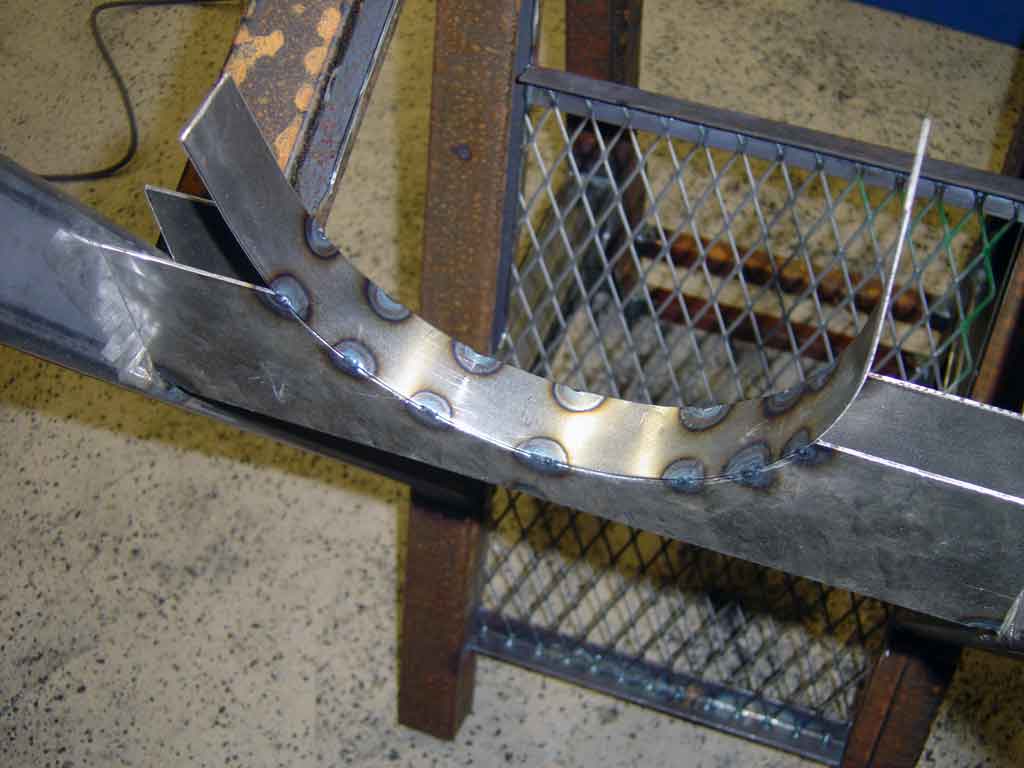
Oops, ran out of Argon...

Monday, September 11, 2006

Time to do a little bodywork. Hell it can't look any worse than it is...

Just throw on new rocker panels... Oops, the underbody they mount to is gone too! No prob, I'll just fab some new stuff, although it is so rusted I can't even tell what shape it is suppose to be.
After finding a large enough solid area was able to use the cross-section below to get the measurements I need.
Basically everything black, below the blue line has to be replaced in order to have something solid to mount the new rocker panels(red) .

Sunday, April 23, 2006

Bucket Forks

Old truck... New forks
Once I figure out the exact mounting mechanism, I'll paint them.
Rounding off the tips left a bit of a fishmouth on the end of the forks, so I filled them with weld.

Ground smooth and almost ready for paint.

Fully welded
I kept waiting for the welds to POP!
Nothing a couple C-clamps and a few tack welds won't fix :-)

Fork wedges ready for caps.

Think there is a little stress in hot rolled steel!!!


Well, it was a rainy weekend, so I figured it was time to make the bucket forks for my backhoe. I bought some 3/16" 2x4 rectangular tube stock and went from there.