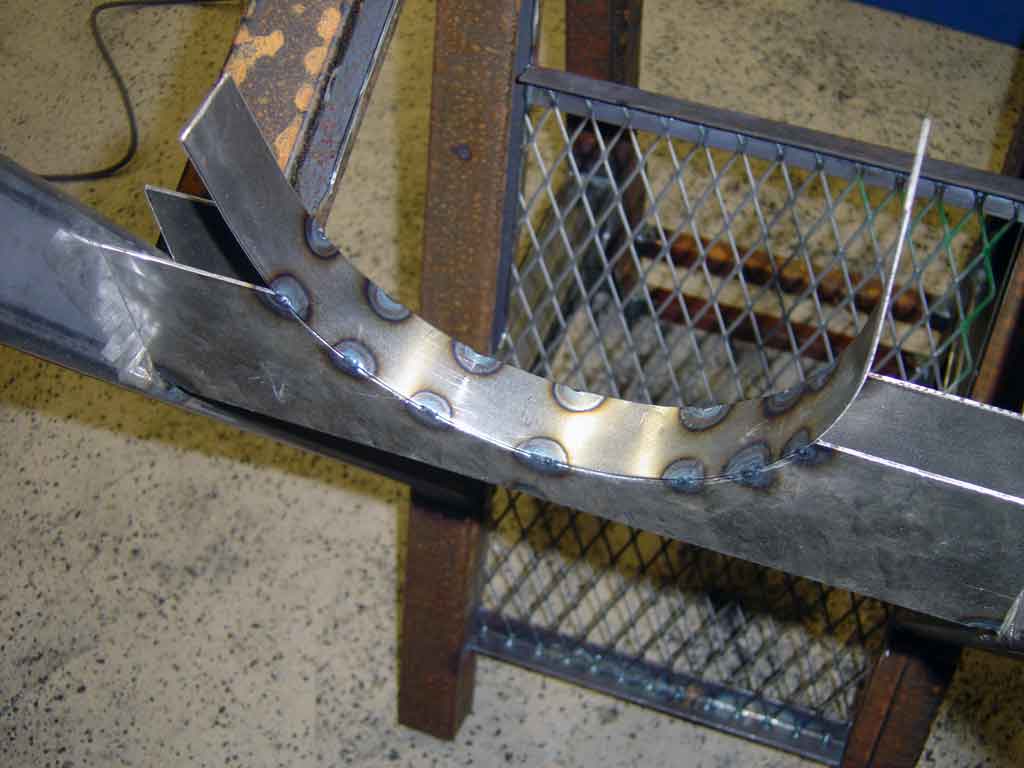
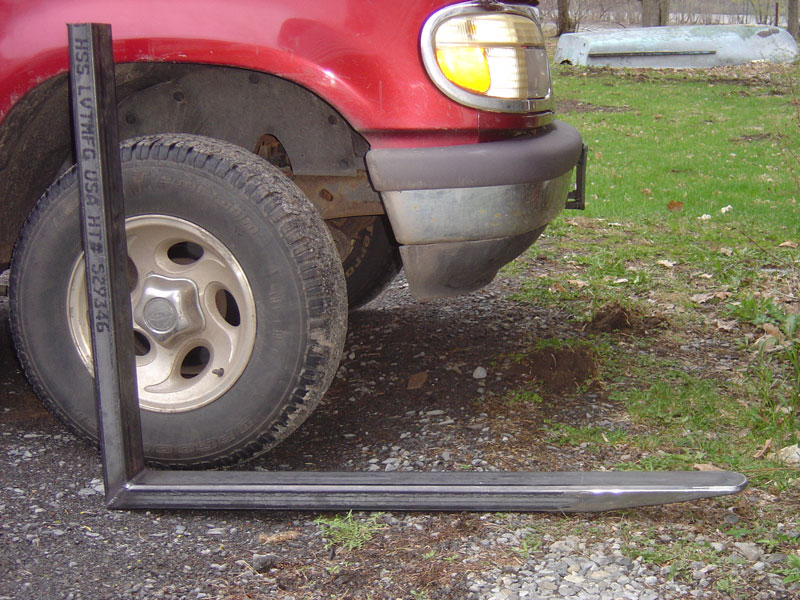
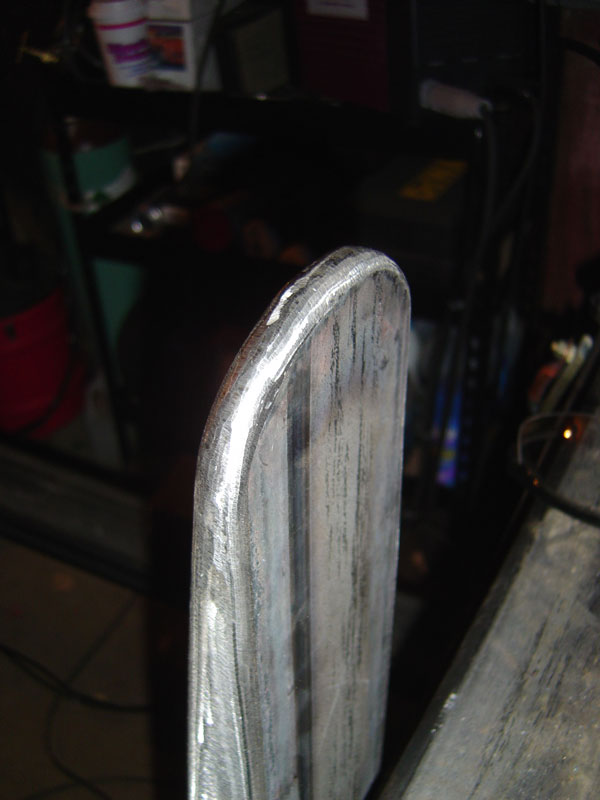
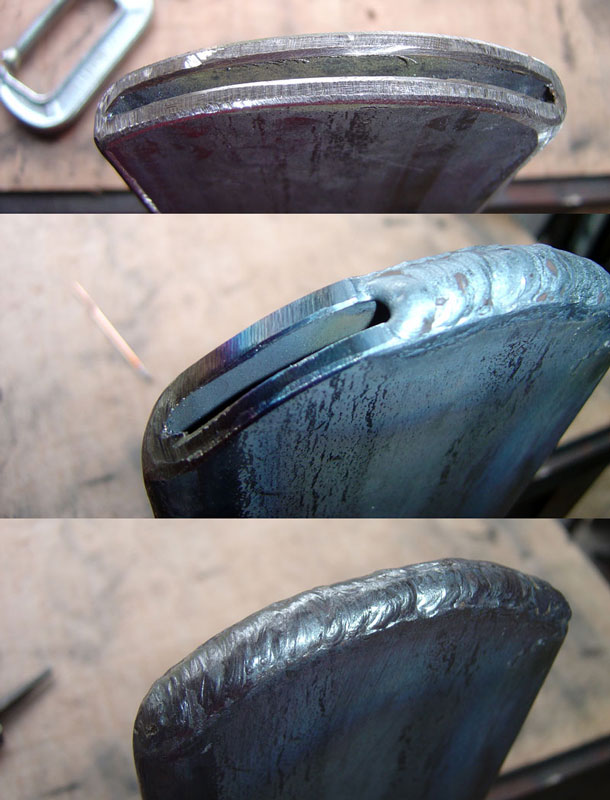
A hand scraper, which is essentially a flat bar with a beveled radius on one end and a handle on the other. You can see some scrapers below, and the end would look similar to the end you see on the power scraper below. The other tools we used were a couple of surface plates, an angle block, a diamond grinder, and a diamond charged lapping wheel. I wasn't familiar, well with much of anything, but the lapping wheel is simply a steel wheel that you add an extremely fine diamond charged paste ( we're talking microns here). This produces a mirror fnish on even a hard surface like carbide.

The surface plates are the "masters". These are covered with ink, the the workpiece you are scraping is laid on this "blued" master. When the workpiece is removed any blue on the workpiece represents a high spot. You scrape of the high spots and do it again, and again, and again,... We use dial indicator to get 2 side parallel and the angle block to check for perpindicularity.
 Lapping wheel and grinder
 The first pass. Now blue yet, this just roughs up the surface and preps it to receive the first bluing.
 flashh to show the scrapes. BTW this was my first attempt, so anybody who knows this is bad.... keep it to yourself ;)
 first cycle: notice that only 3 or 4 spots touched because it is so far from flat.
 In this one I scraped the tops of the high spots ( only 4) and did it again. You can see how the high spots moved and changed in size. This does start to change much more rapidly once you remove the "big" high spots.
 Here it is after 4 or 5 cycles of bluing and scraping.
 It starts to look like galvanized steel for awhile.
 This process continues until you are happy. The result is measured in "spots per inch". The number of spots per inch desired depends on the use of the workspace. Since I want to restore the ways on my mill I chose practice creating 20 spi. That leaves just enough peaks to slide on and enough valleys to hold lubricant. If you were making another master, you would keep cycling. to say 150 spi or more. By the way this block is "flat" NOT "smooth", but is also more smooth than it looks because of the camera flash.
 Here is a surface plate that one of the guys(Richard) brought with him to scrape.
 It was a 2 man job to place this thing on the master. Forrest Addy ( on the right) was teaching the class as well as helping Richard scrape this baby.
 Forrest give a "Biax" power scraper demo.
 This tip, on the power scraper, is pretty close to what you would do for a hand scraper. I'll post some more when I finish some of my own scraping.
 We finished off one of the days with a trip to the American Precision Museum. Pictures to come...