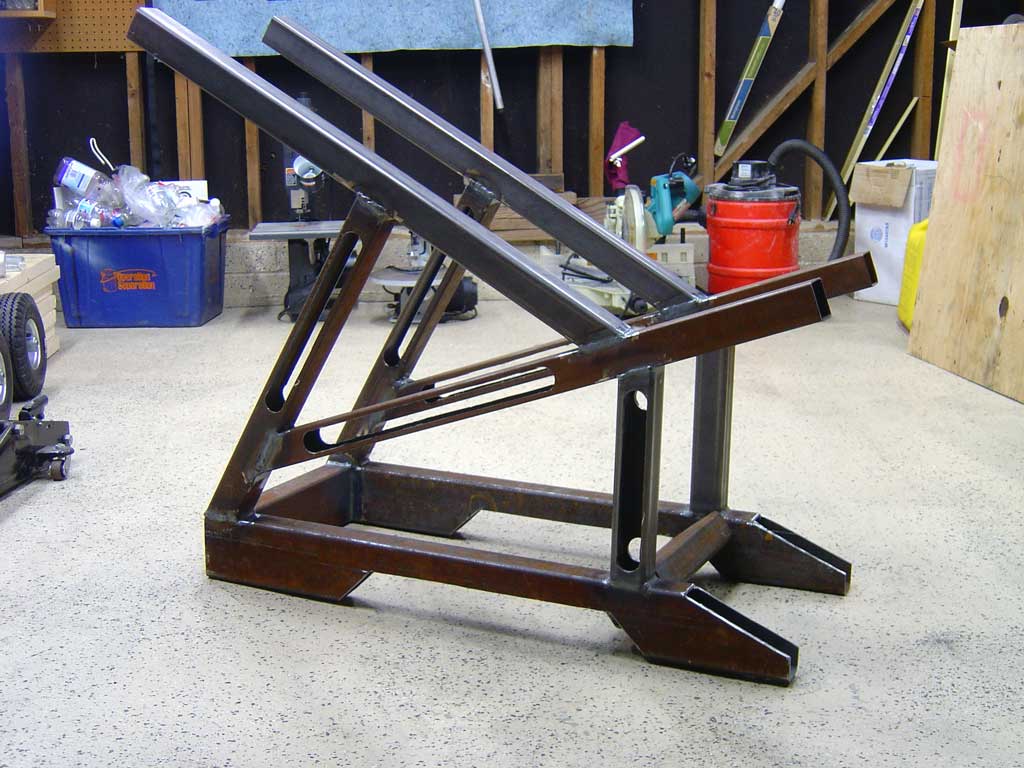
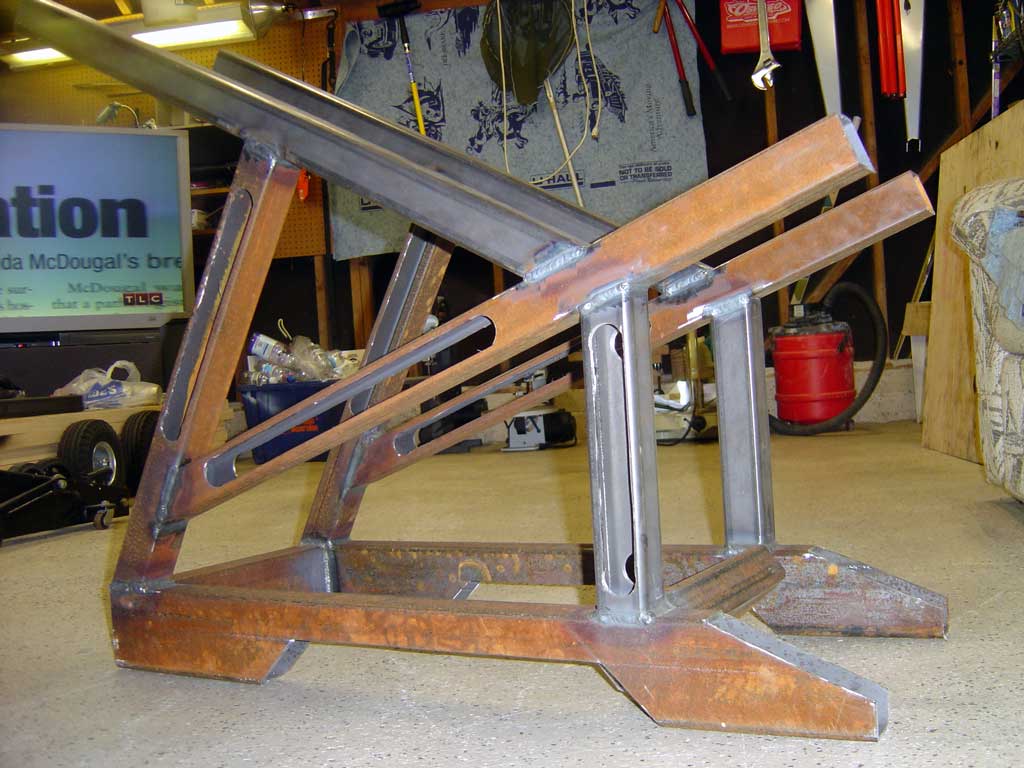
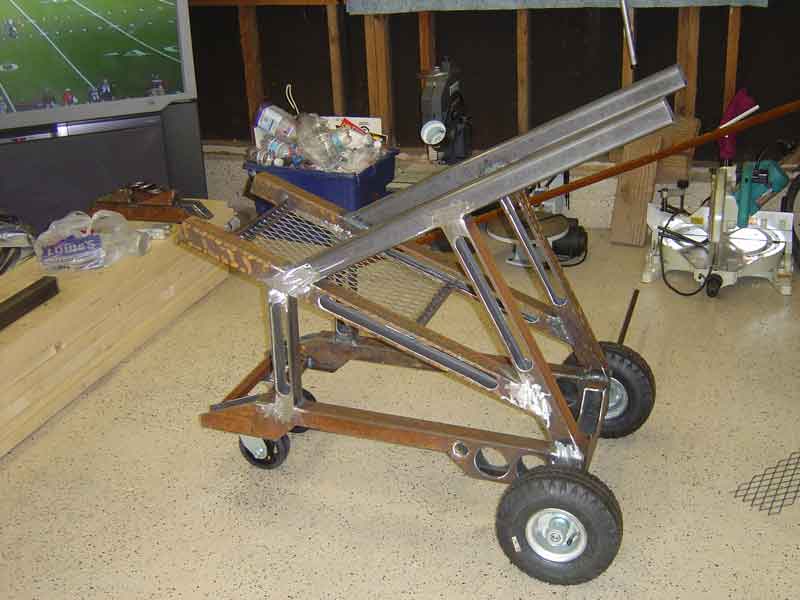
 Added the shelf for the Welder... While the Vikings were losing. !!!%^$#!^%$!#$
 And starting fabbing up the clamp that will hold the Argon tank. ( If you look closely, I actually welded this 90 degrees out of position, doh!
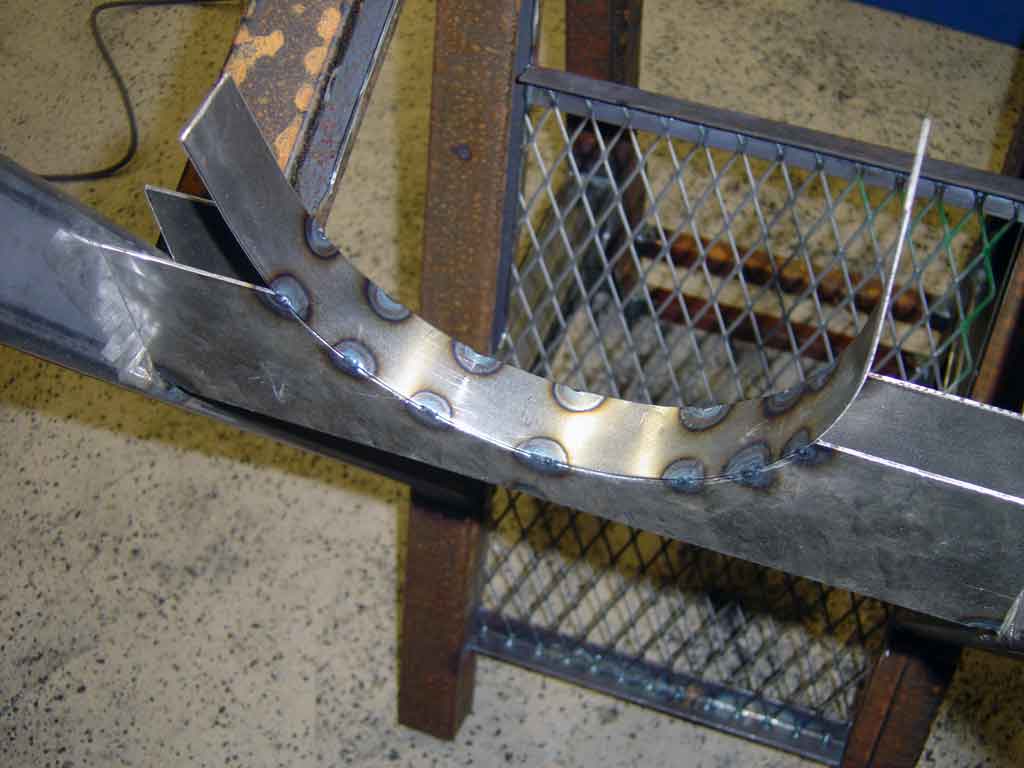
 And a test fit...
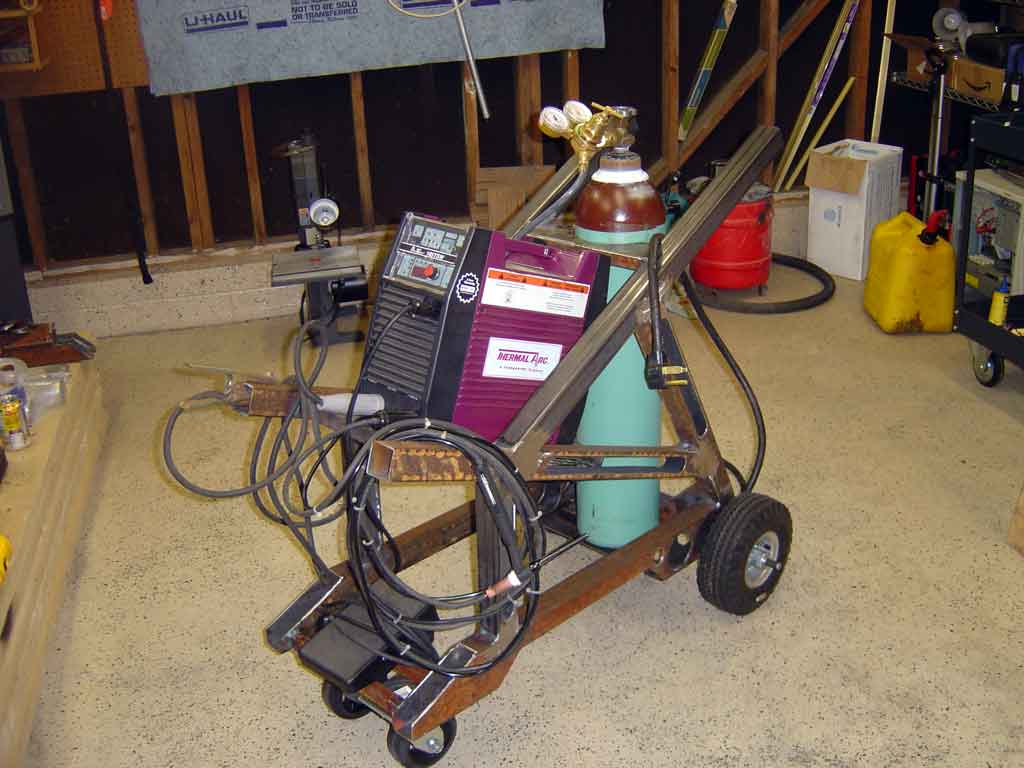 Added the shelf for the Welder... While the Vikings were losing. !!!%^$#!^%$!#$And starting fabbing up the clamp that will hold the Argon tank. ( If you look closely, I actually welded this 90 degrees out of position, doh!And a test fit...

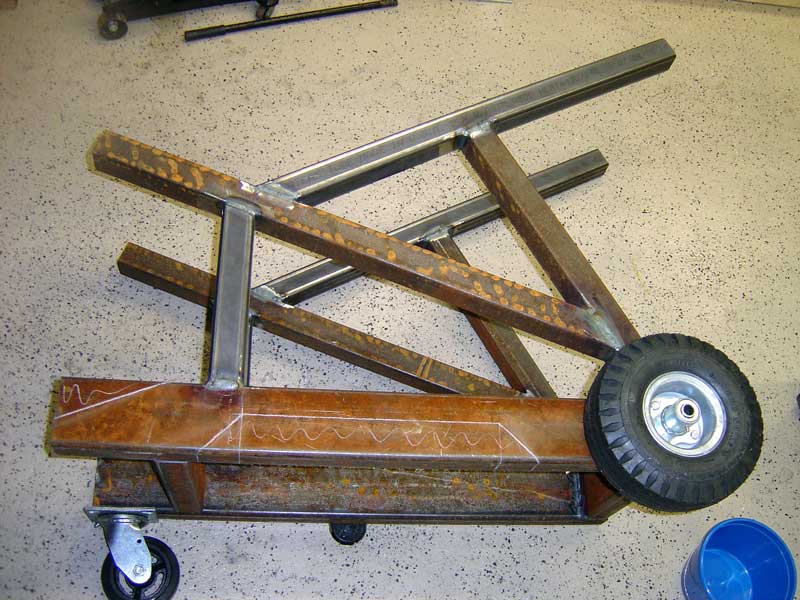
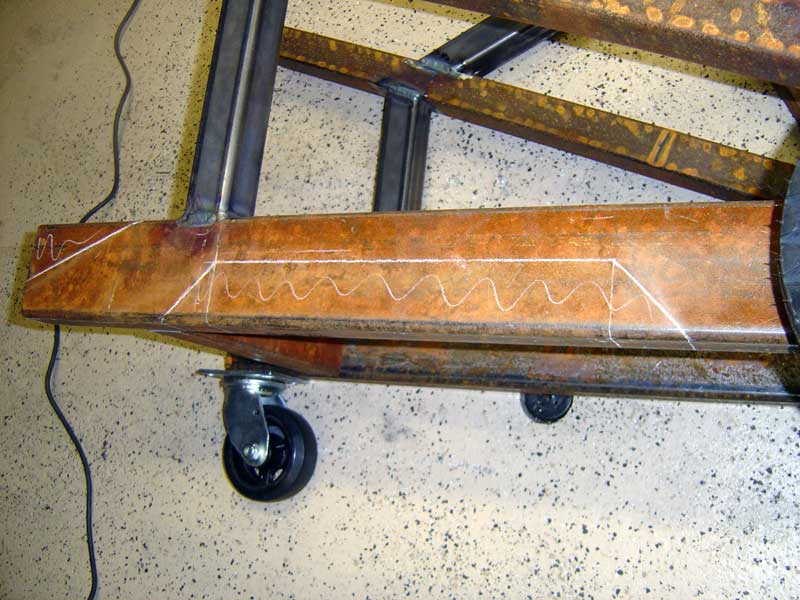

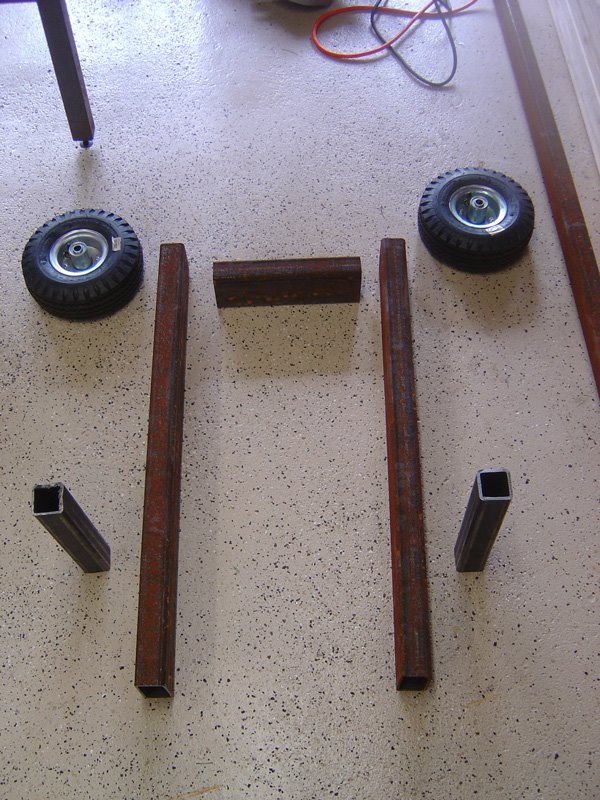

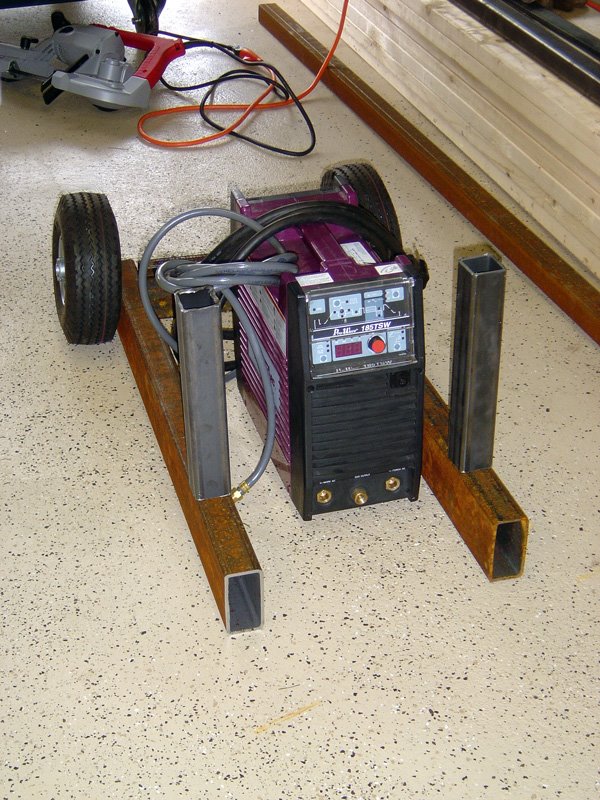
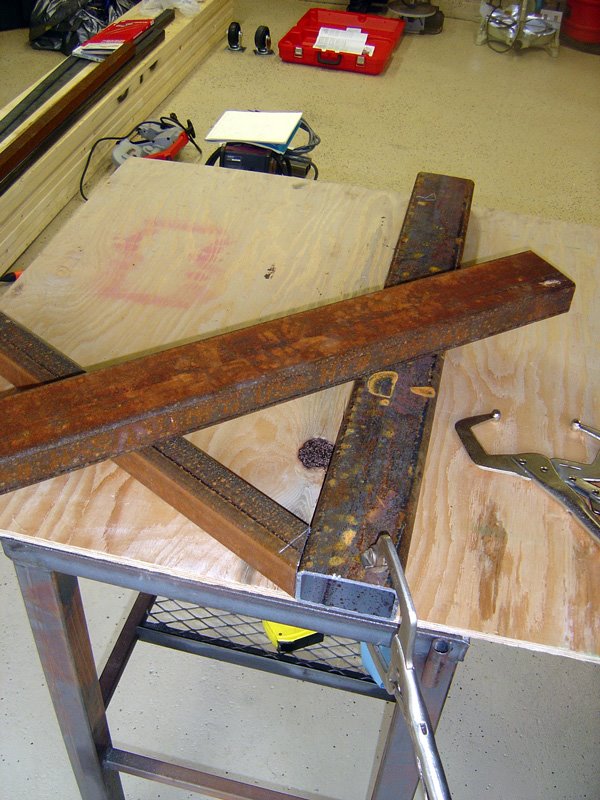
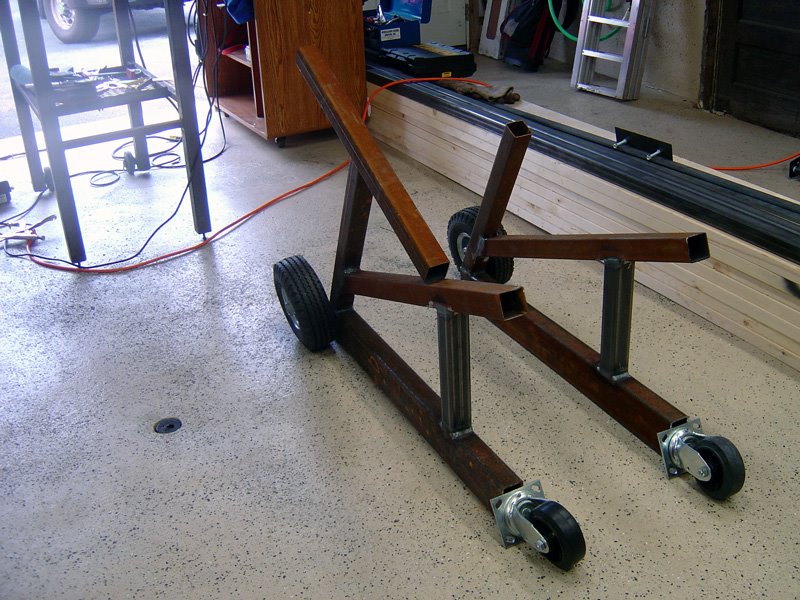 Oops, ran out of Argon...

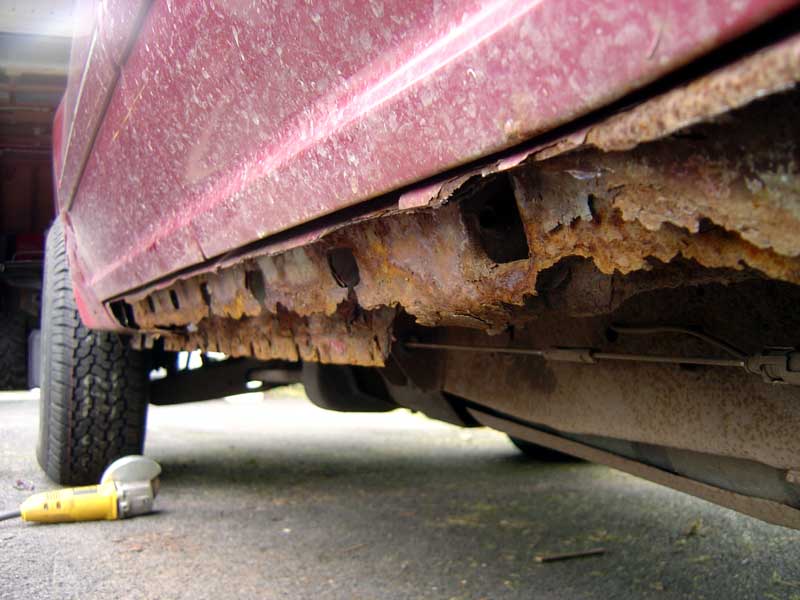
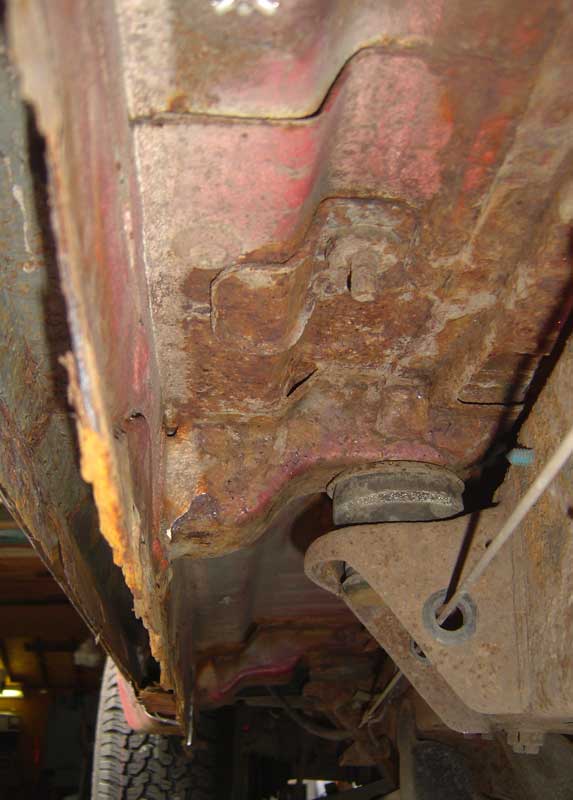

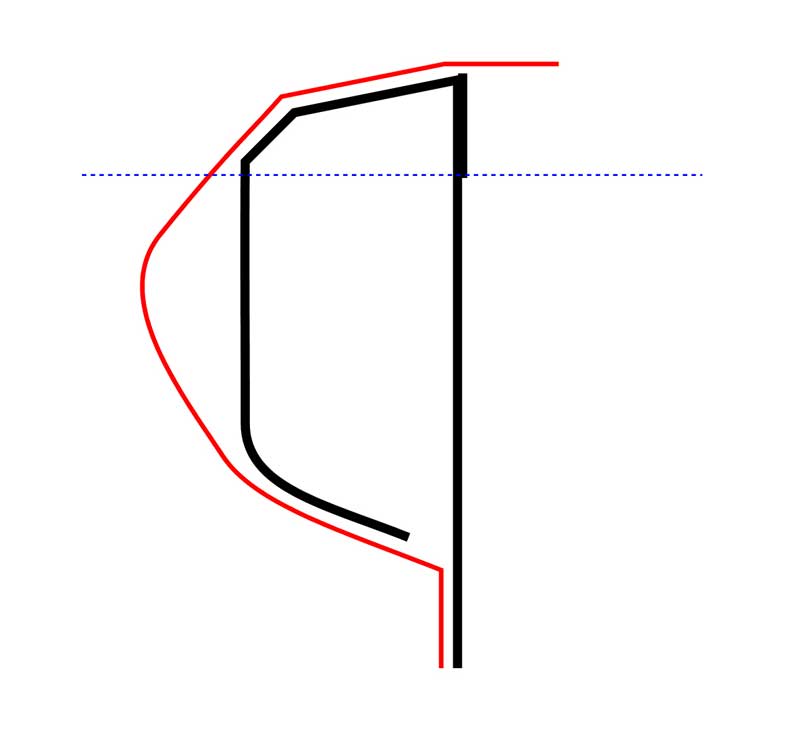
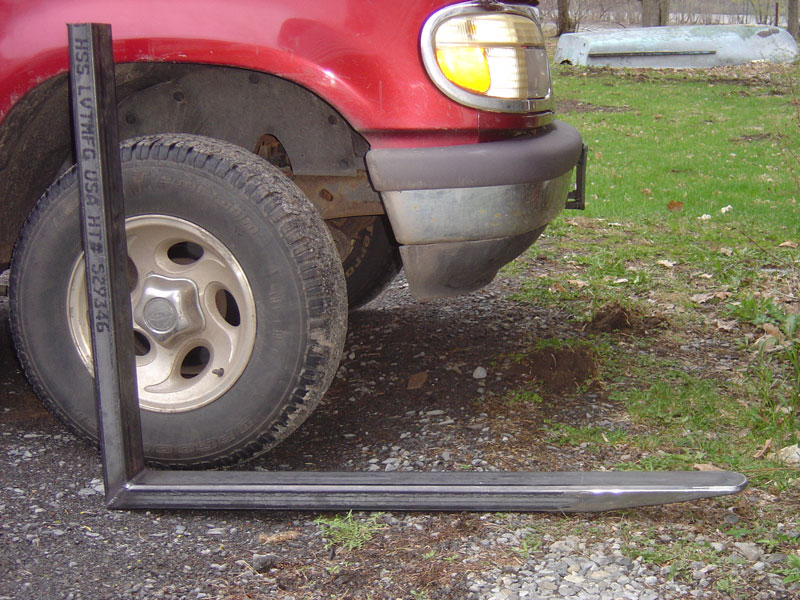 Old truck... New forks
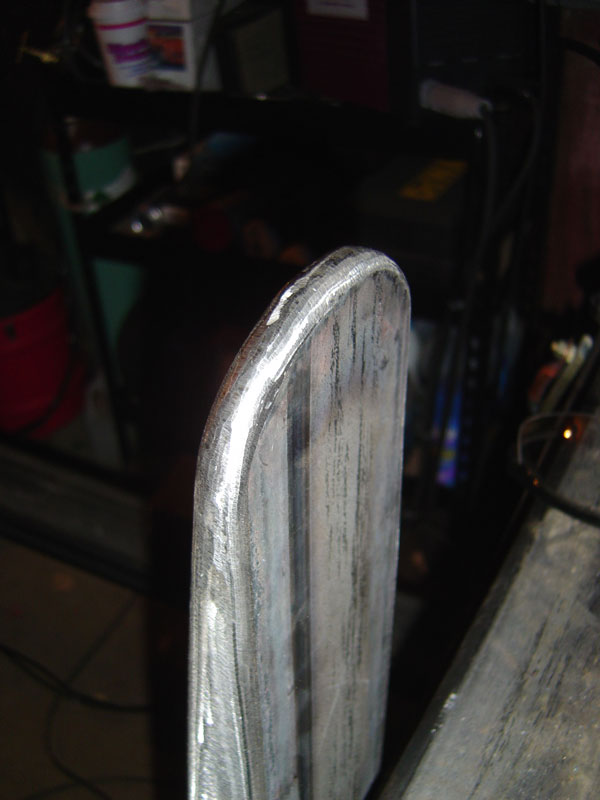 Once I figure out the exact mounting mechanism, I'll paint them.
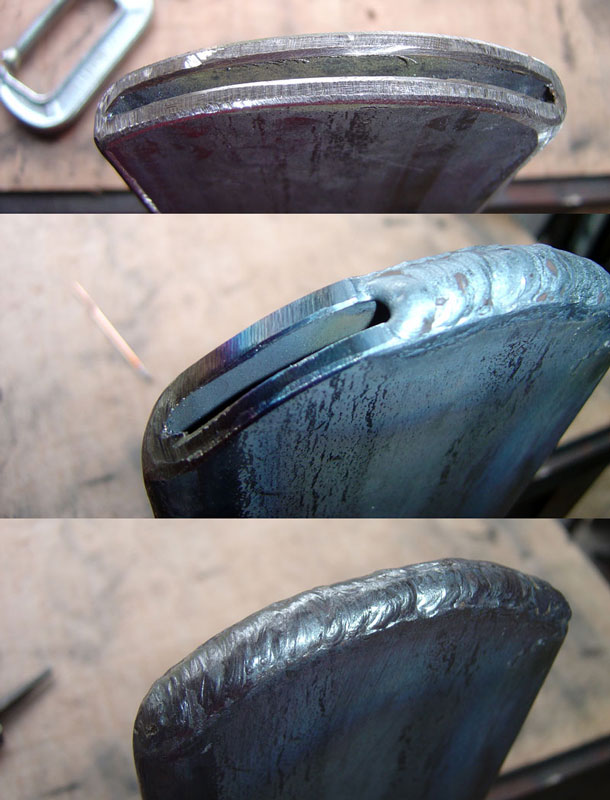 Rounding off the tips left a bit of a fishmouth on the end of the forks, so I filled them with weld.
 Ground smooth and almost ready for paint.
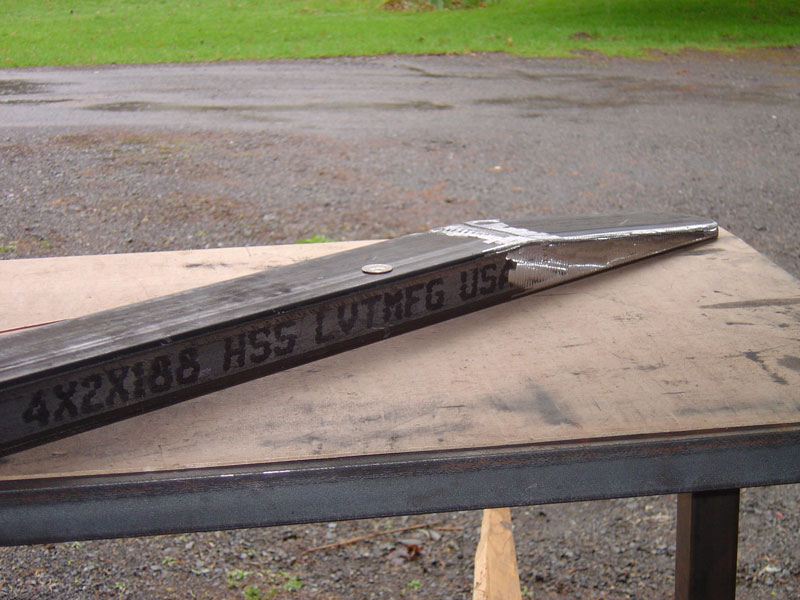
 Fully welded
 I kept waiting for the welds to POP!
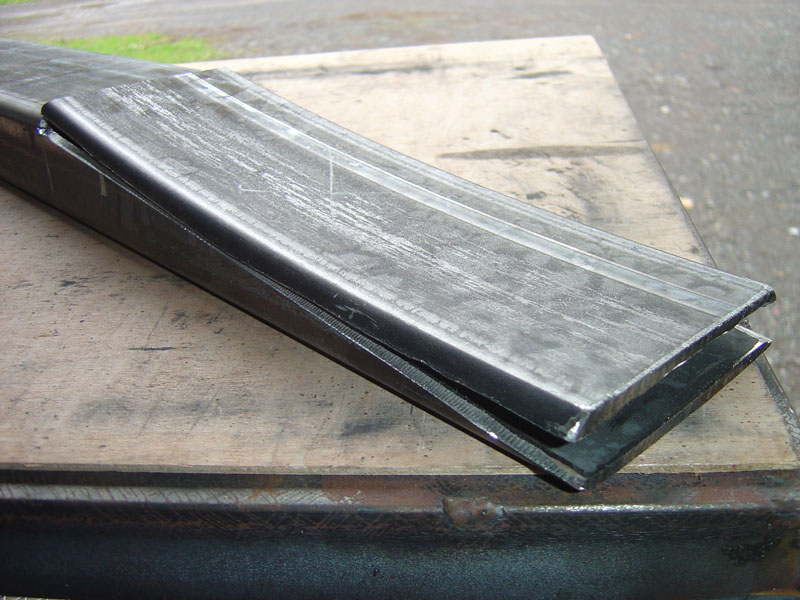 Nothing a couple C-clamps and a few tack welds won't fix :-)
 Fork wedges ready for caps.
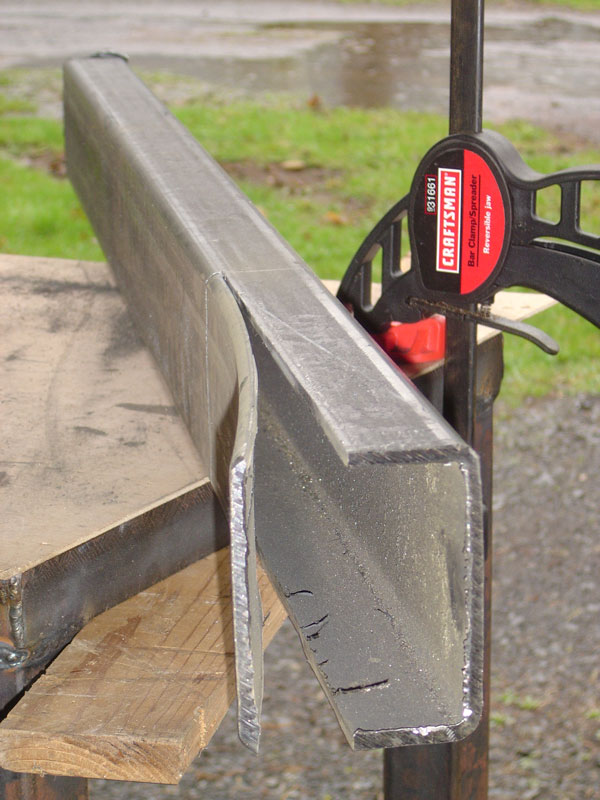 Think there is a little stress in hot rolled steel!!!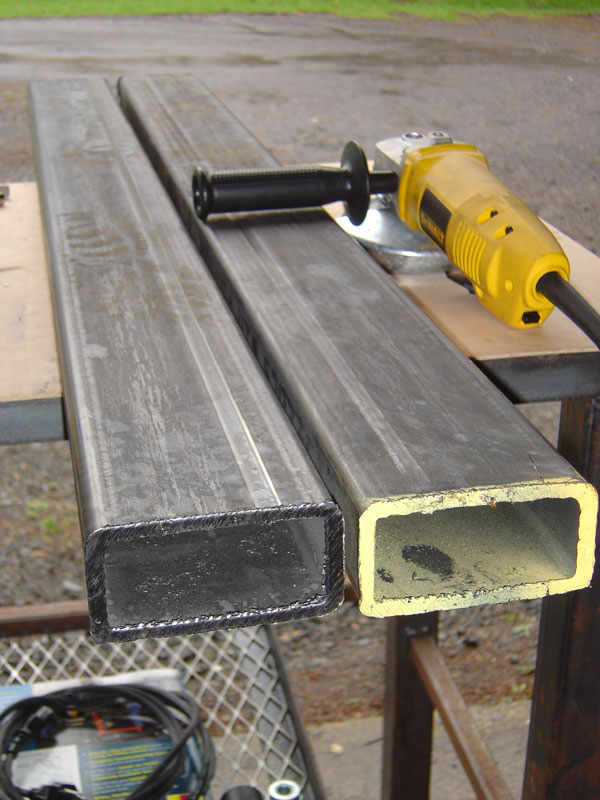
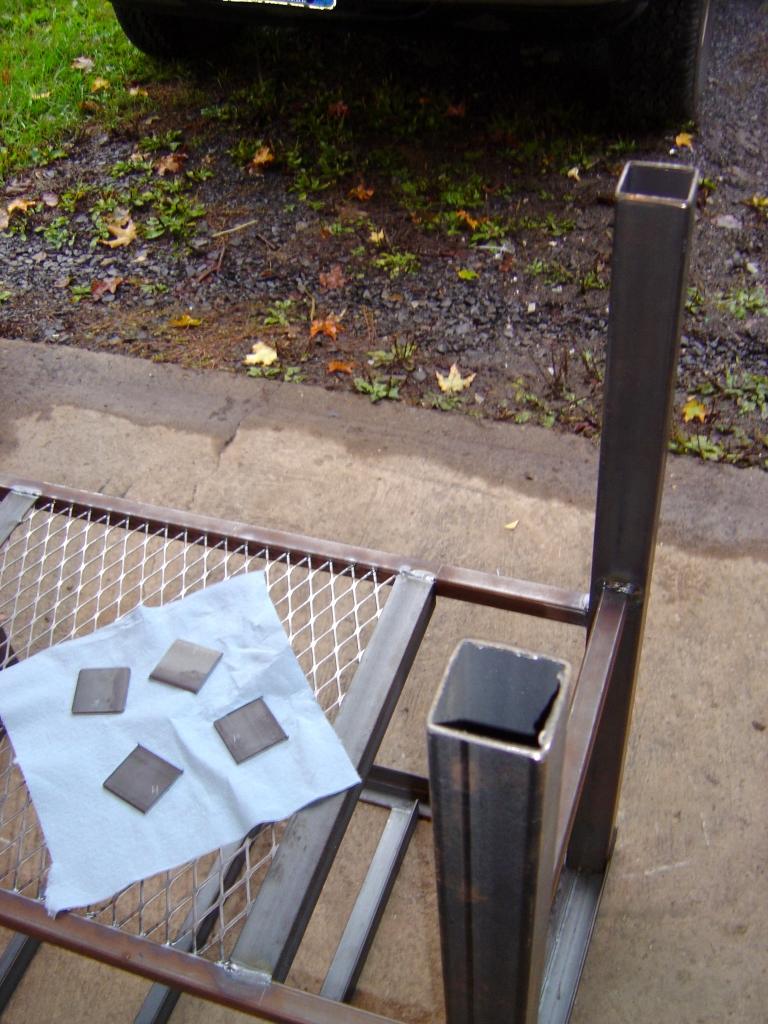 Welded on a couple of nuts...
 Which completeley gunked up the threads...
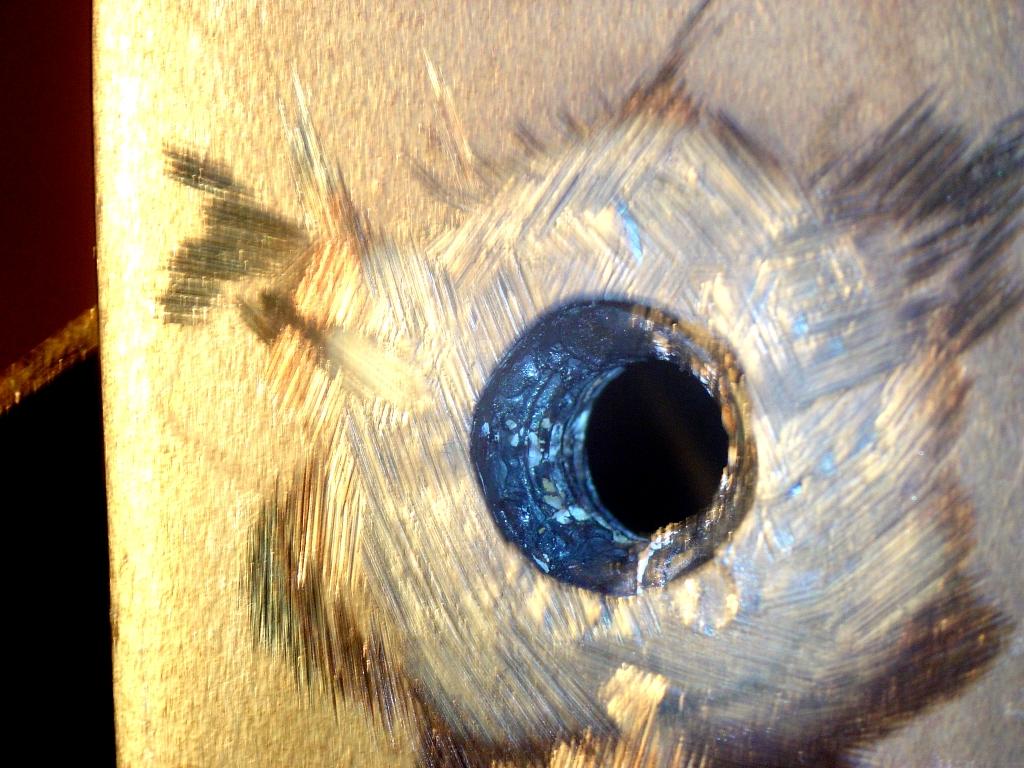 So, I tapped them back out...
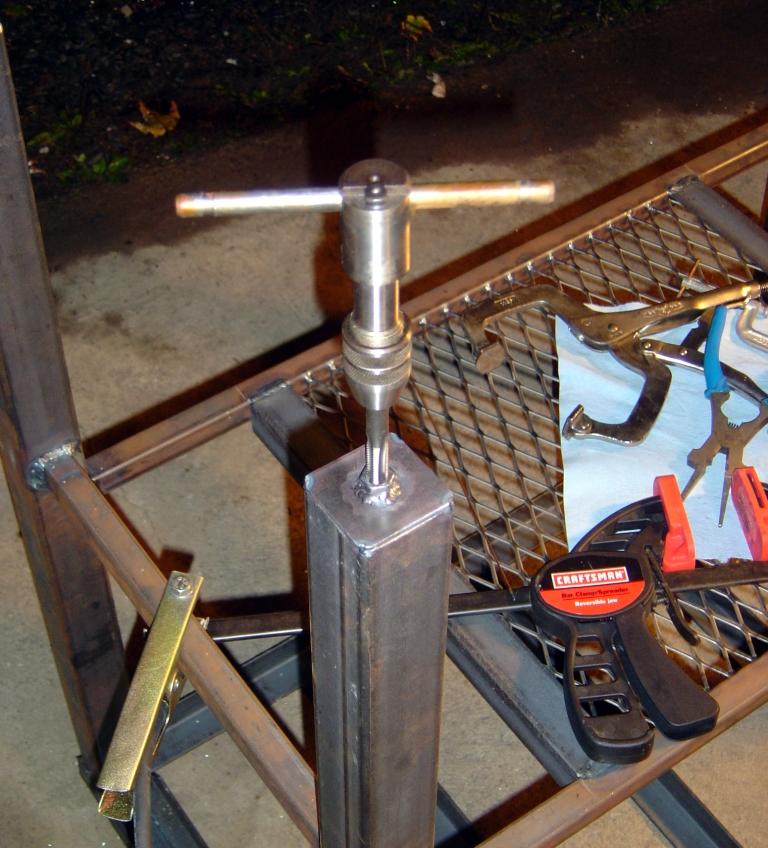 Screwed in a thingy bolt that I found wandering around ACE. (use the local guys whenever possible)
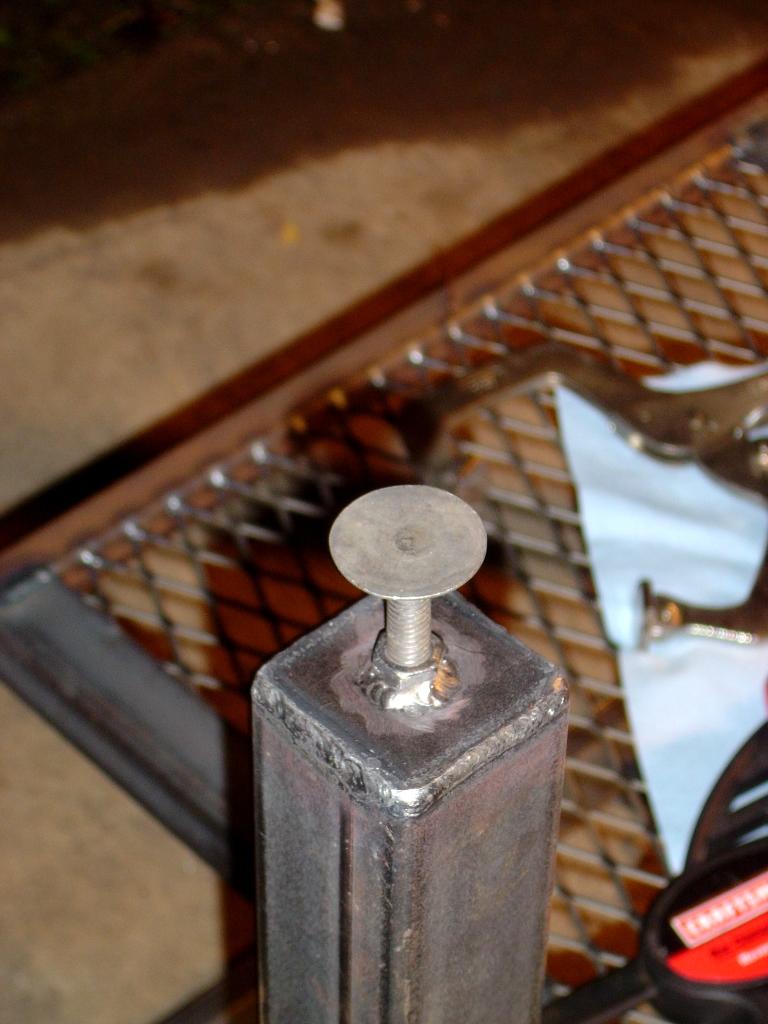 And voila!.. It won't hold up too much weight, but it should be OK for what I need.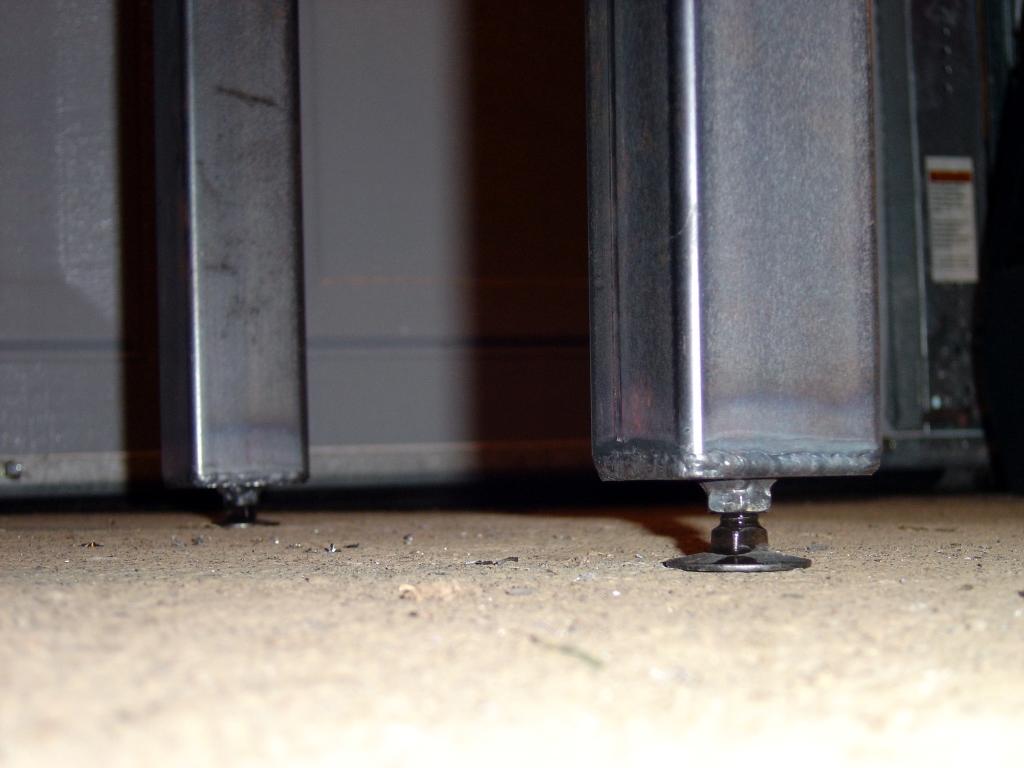
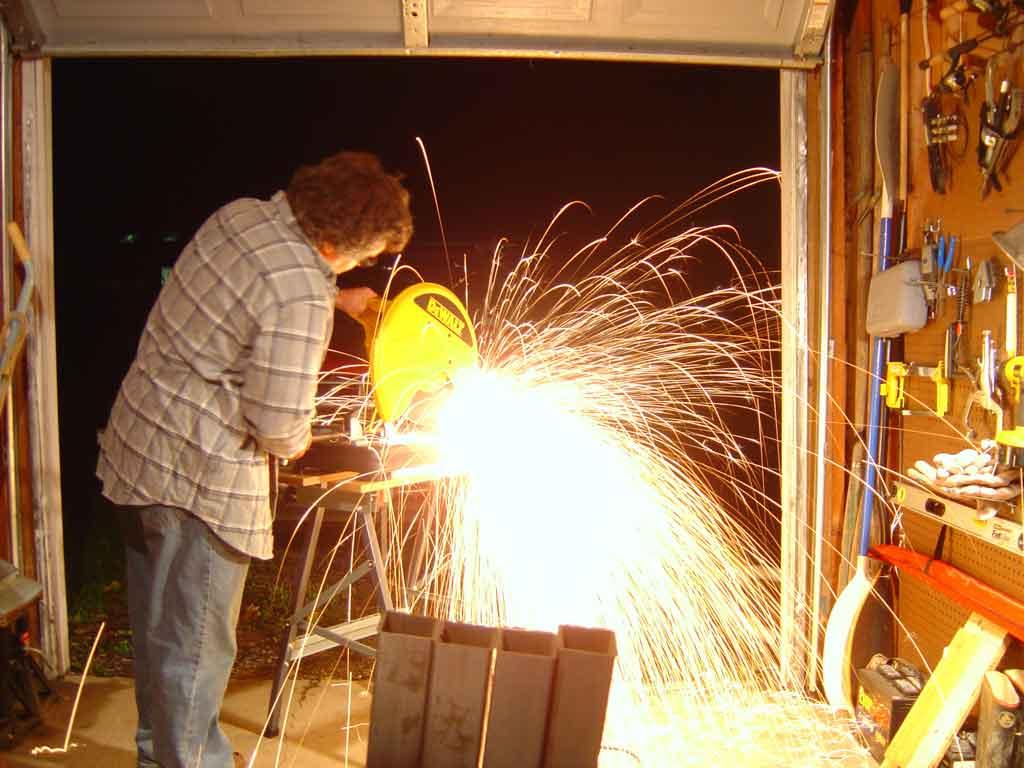
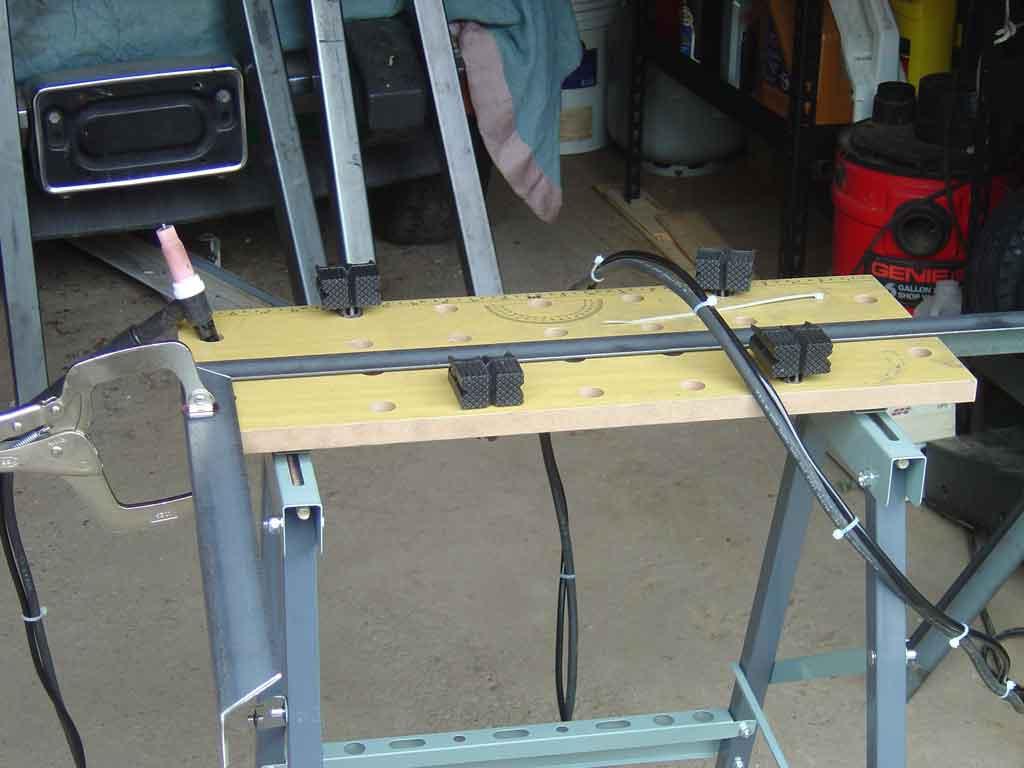
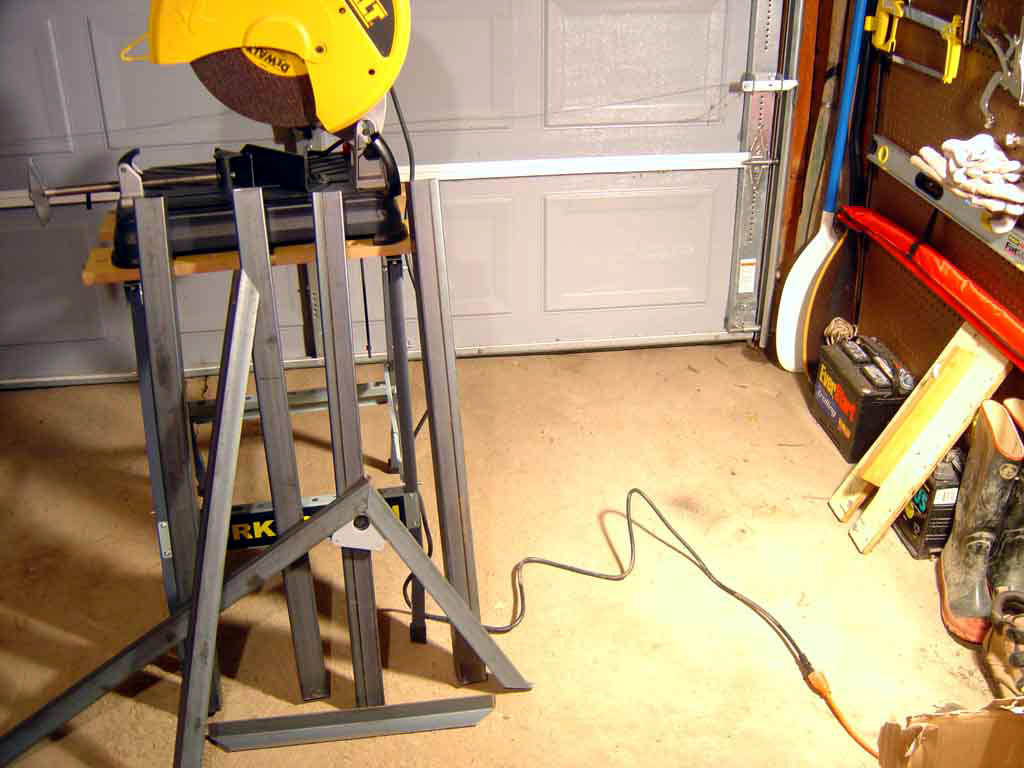 Laying out the first joint, which did burn the workmate, hence the need for a steel table :-)
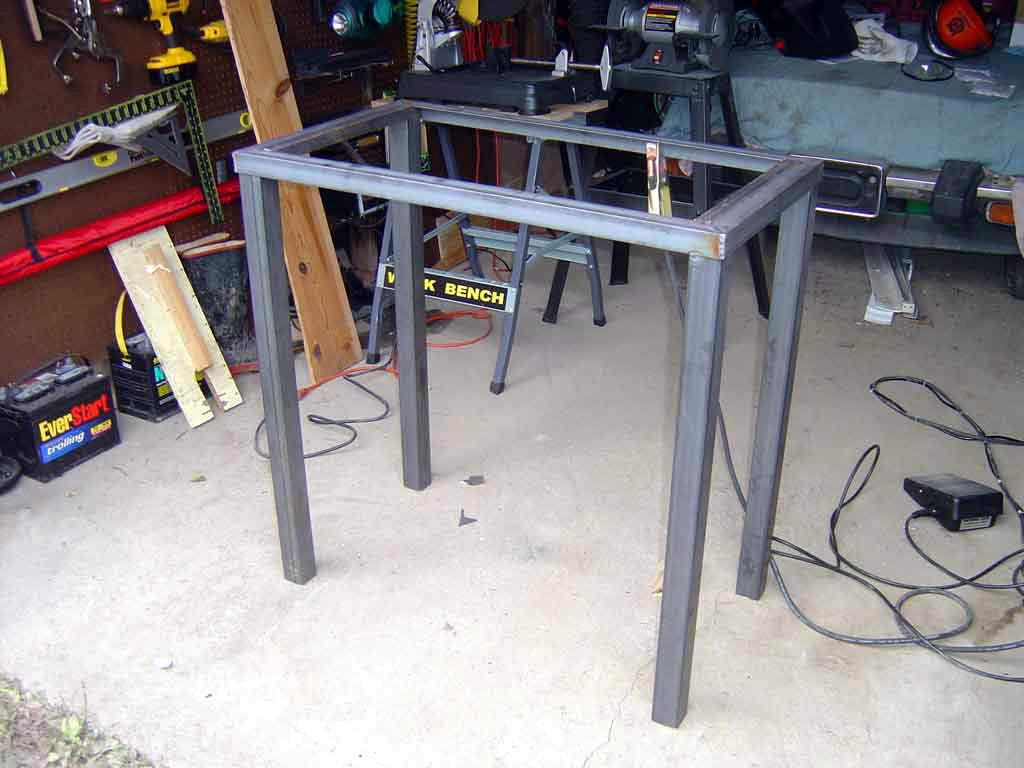
 Basic table
 A simple seem without using any filler material.
 My first corner of the top, boy did this one suck. Good project to learn on though.
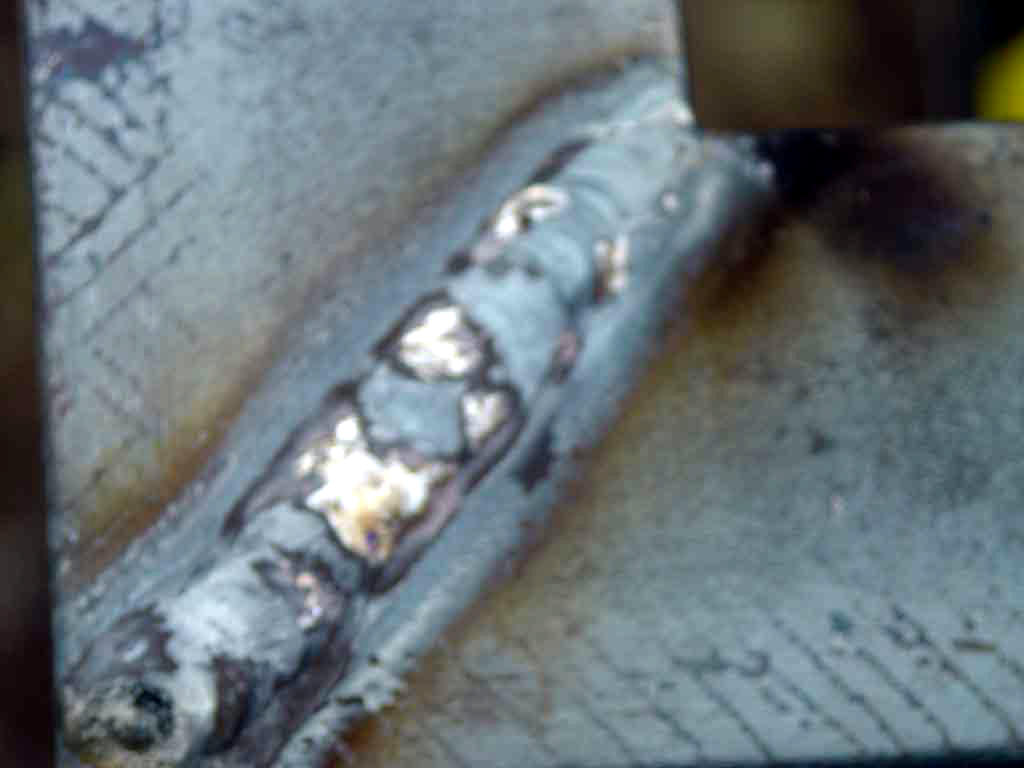 The last corner. Much better but much more practice needed.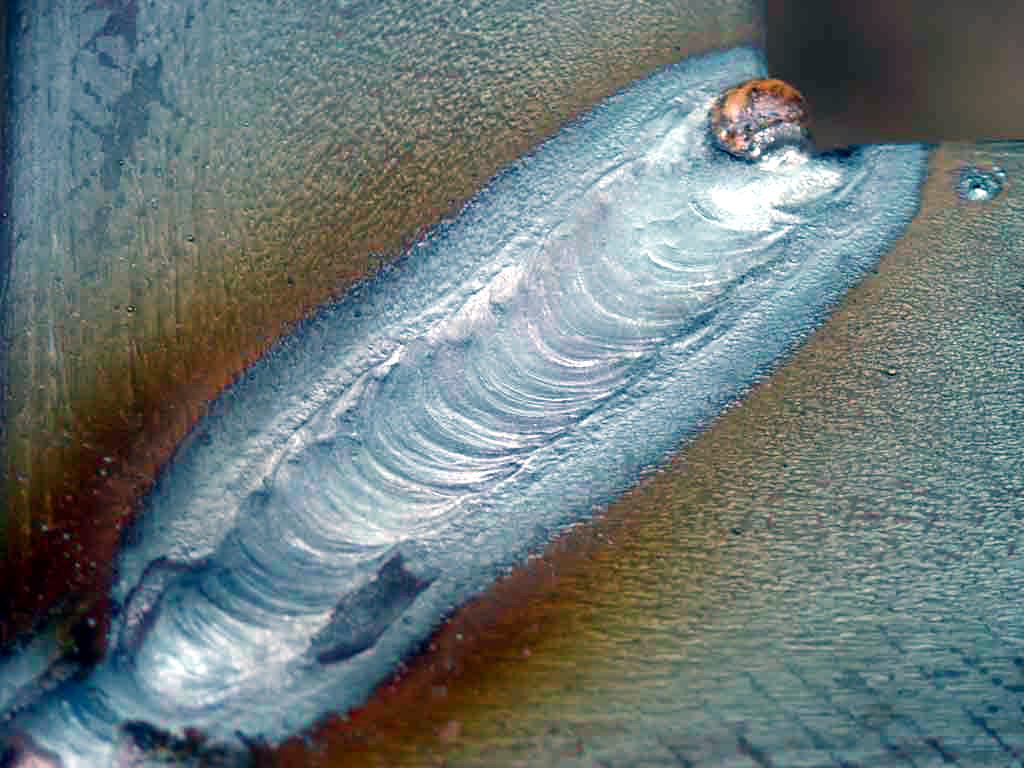
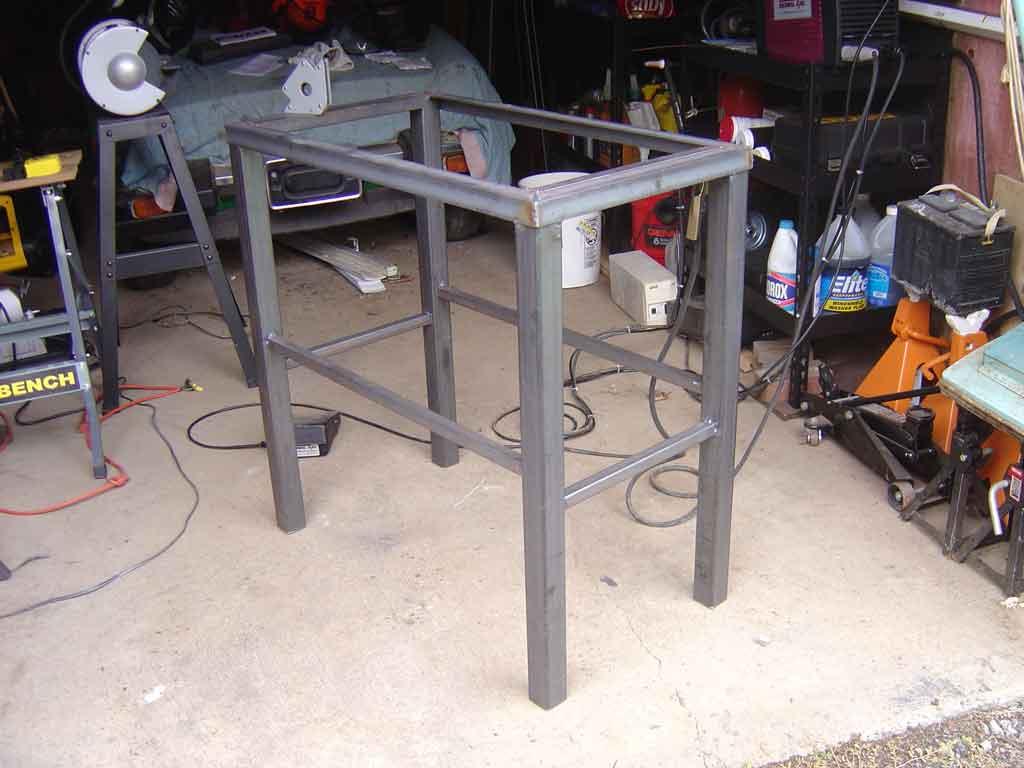 Once again the first weld sucked.
 The last one was much better.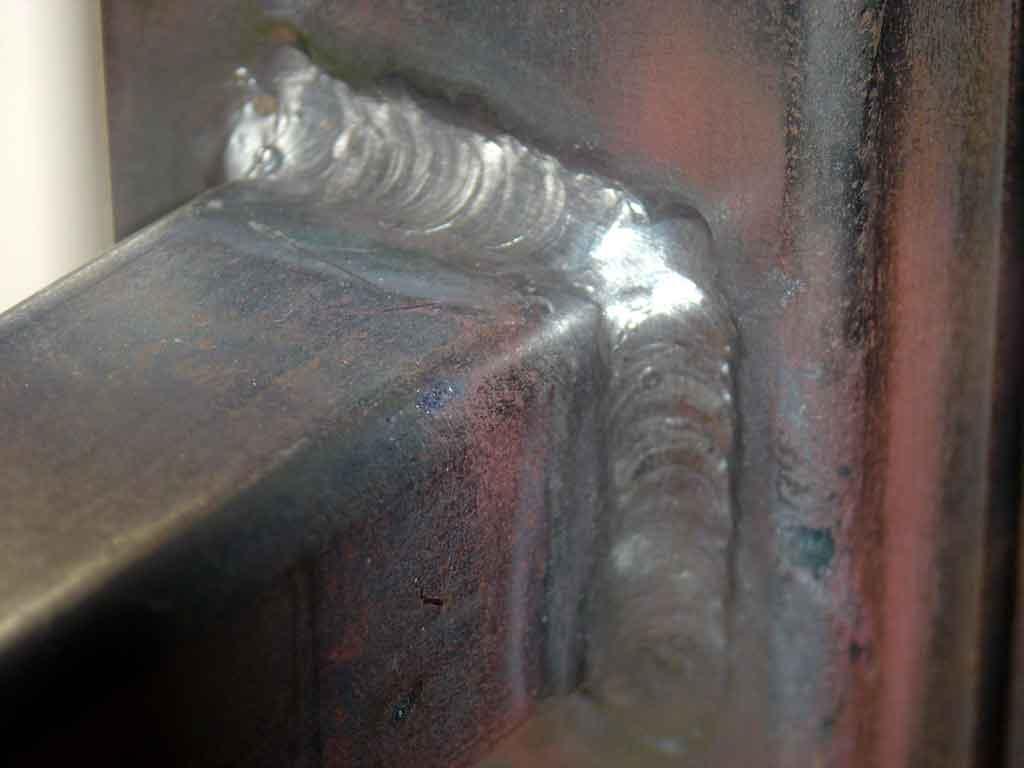
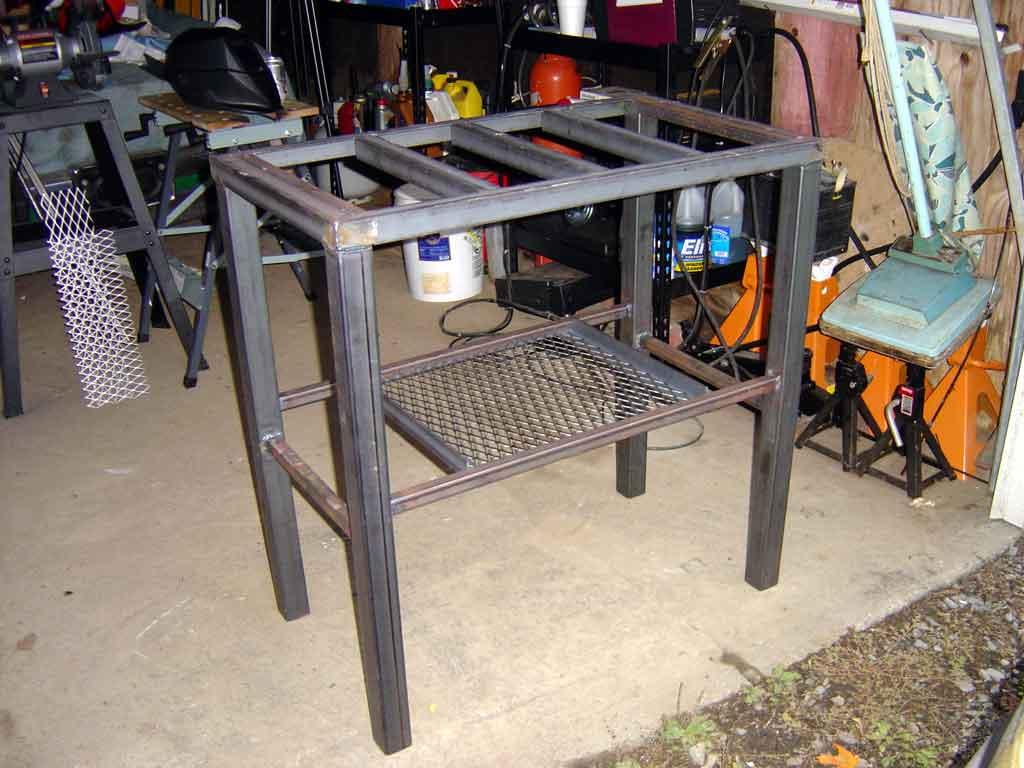 Lets see ya do this with a MIG :-)